Learn How to Create a Button in Flutter in 2023 | Codzify.com
Article by: Manish Methani
Last Updated: September 21, 2021 at 2:04pm IST
Step 1: Create a New Flutter Project
Create a new Flutter project using your preferred IDE or command line tools.
Step 2: Add Dependencies
Add the Flutter Material package to your project's dependencies in the pubspec.yaml file. This package provides the widgets and tools you need to create a button.
Step 3: Create a Button
To create a button in Flutter, you can use the MaterialButton widget. Here's an example of how to create a simple button:
MaterialButton(
  onPressed: () {
    // do something when the button is pressed
  },
  child: Text('Click me'),
)
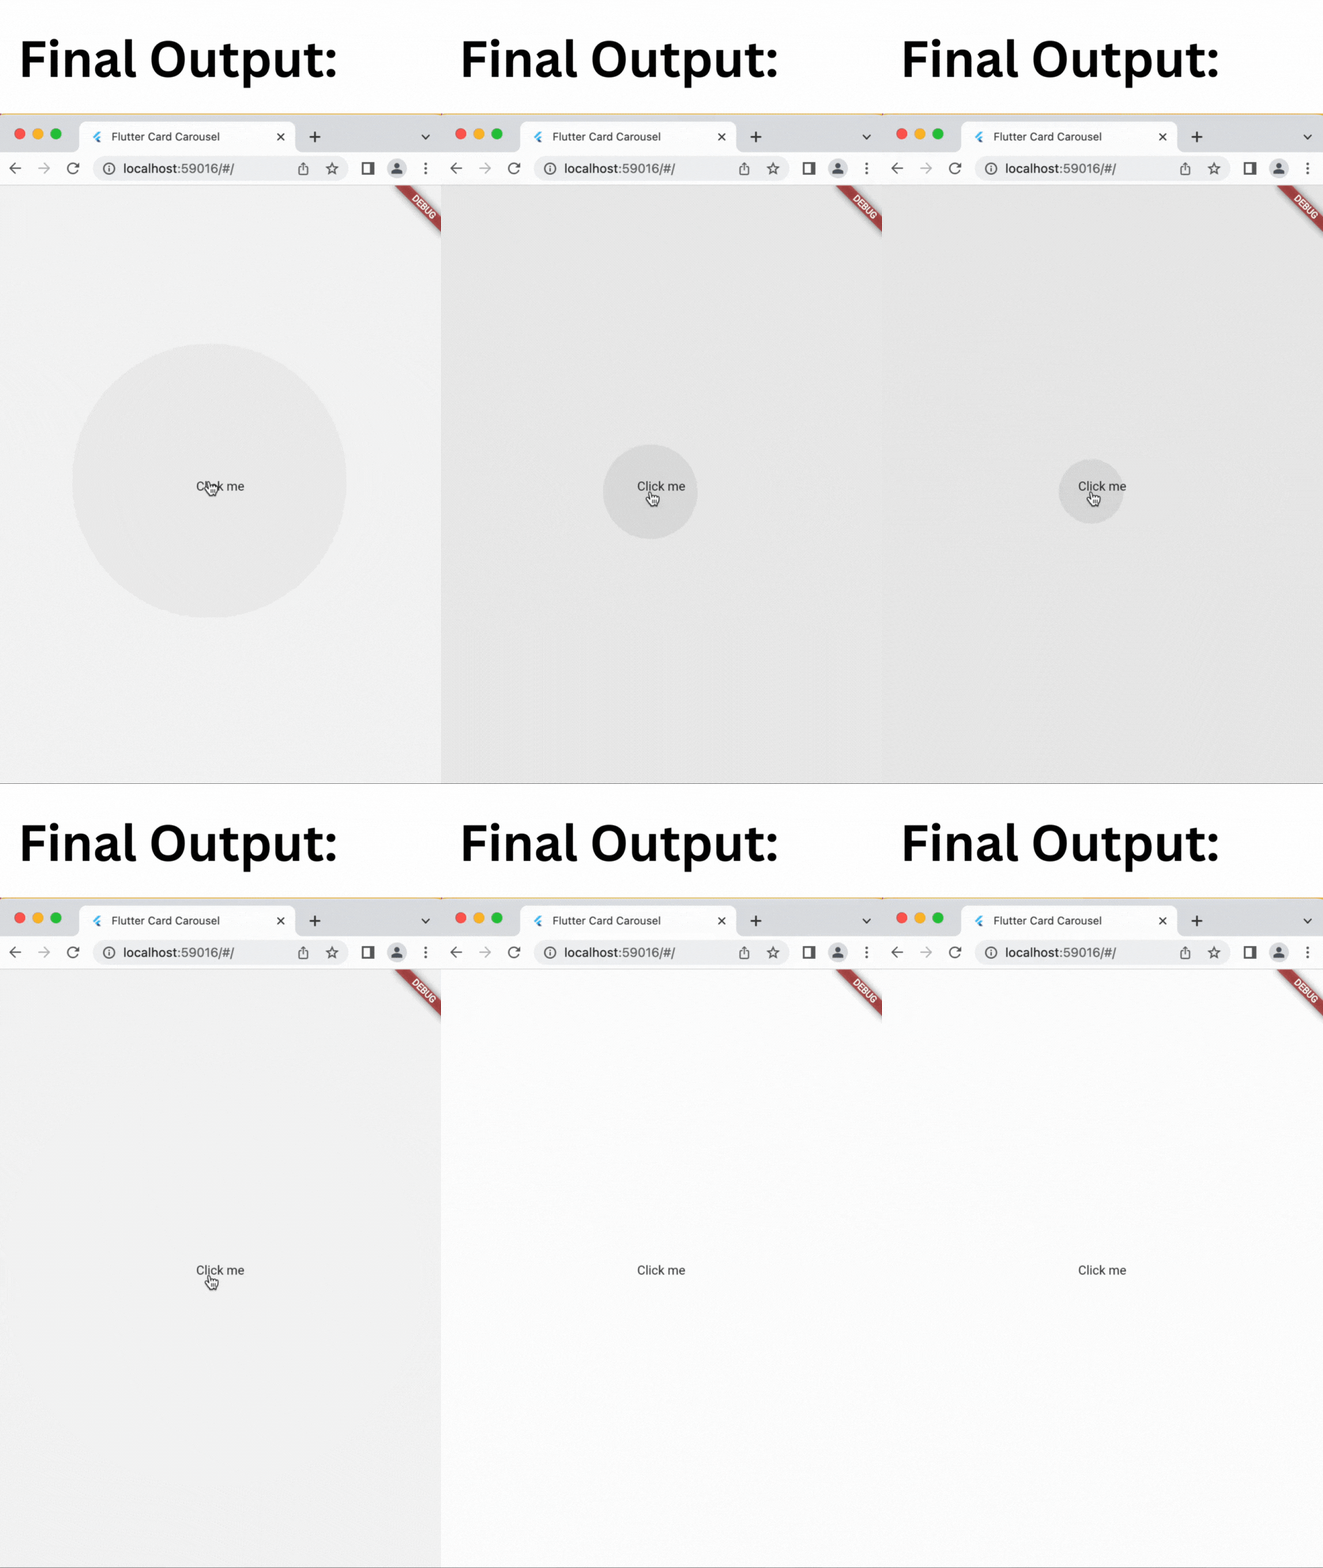
In this example, we create a MaterialButton widget that has an onPressed callback, which is triggered when the button is pressed. We also set the button's child property to a Text widget that displays the text "Click me".
Final Output:

Step 4: Customize the Button
You can customize the look and behavior of the button by modifying its properties. Here are a few examples:
MaterialButton(
  onPressed: () {
    // do something when the button is pressed
  },
  child: Text('Click me'),
  color: Colors.blue, // set the button's background color
  textColor: Colors.white, // set the button's text color
  disabledColor: Colors.grey, // set the button's background color when disabled
  disabledTextColor: Colors.white, // set the button's text color when disabled
  splashColor: Colors.green, // set the button's splash color
  shape: RoundedRectangleBorder(
    borderRadius: BorderRadius.circular(18.0),
    side: BorderSide(color: Colors.red),
  ), // set the button's shape and border
)
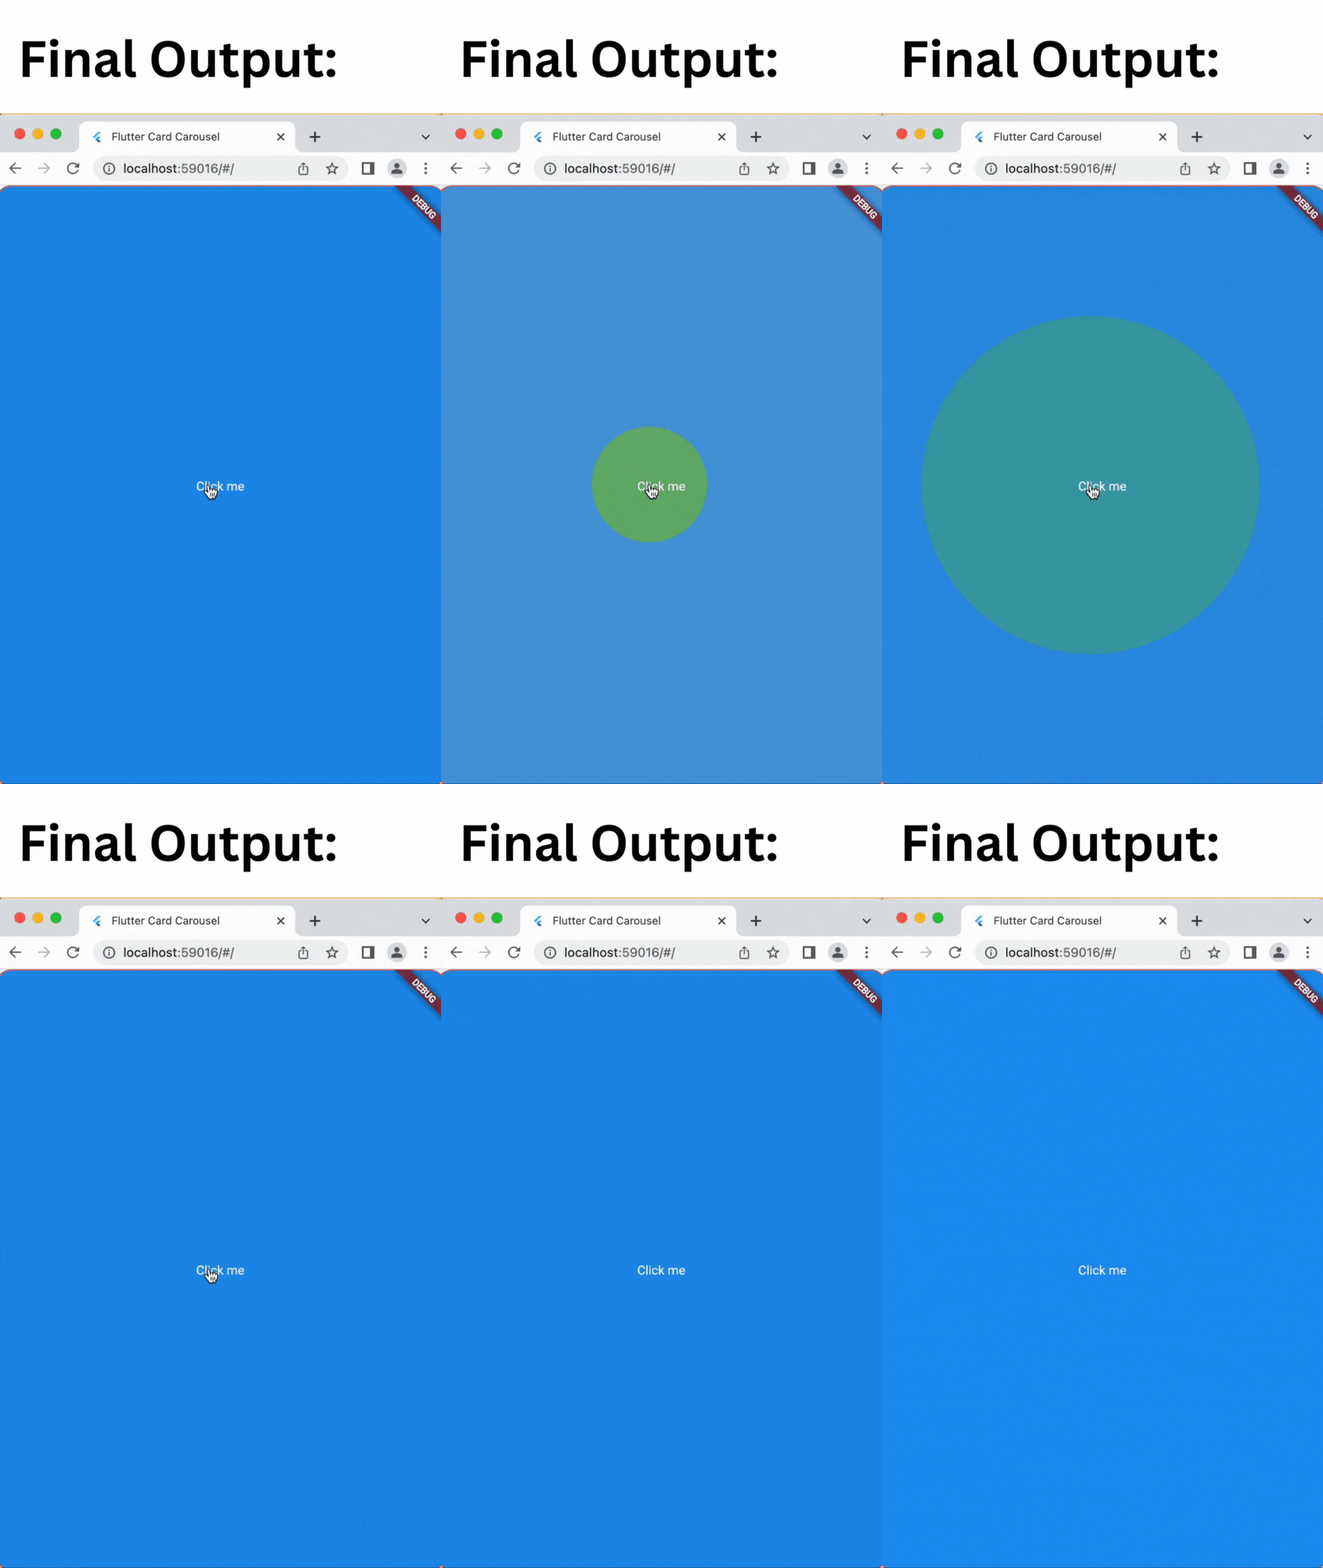
In this example, we set the button's background color to blue, the text color to white, the disabled background color to grey, and the disabled text color to white. We also set the splash color to green and the button's shape to a rounded rectangle with a red border.
Final Output:

Step 5: Use the Button
To use the button in your app, you can add it to a widget tree as you would with any other widget. Here's an example:
class MyHomePage extends StatelessWidget {
  @override
  Widget build(BuildContext context) {
    return Scaffold(
      appBar: AppBar(
        title: Text('My App'),
      ),
      body: Center(
        child: MaterialButton(
          onPressed: () {
            // do something when the button is pressed
          },
          child: Text('Click me'),
        ),
      ),
    );
  }
}
In this example, we add the MaterialButton widget to the body of a Scaffold widget, which is the root widget of our app. We also set the button's onPressed callback to do something when the button is pressed.
How do I create a push button in flutter?
To create a push button in Flutter, you can use the ElevatedButton or FlatButton widget. Here's an example code snippet using the ElevatedButton widget:
ElevatedButton(
  onPressed: () {
    // Do something when the button is pressed.
  },
  child: Text("Push Me"),
),
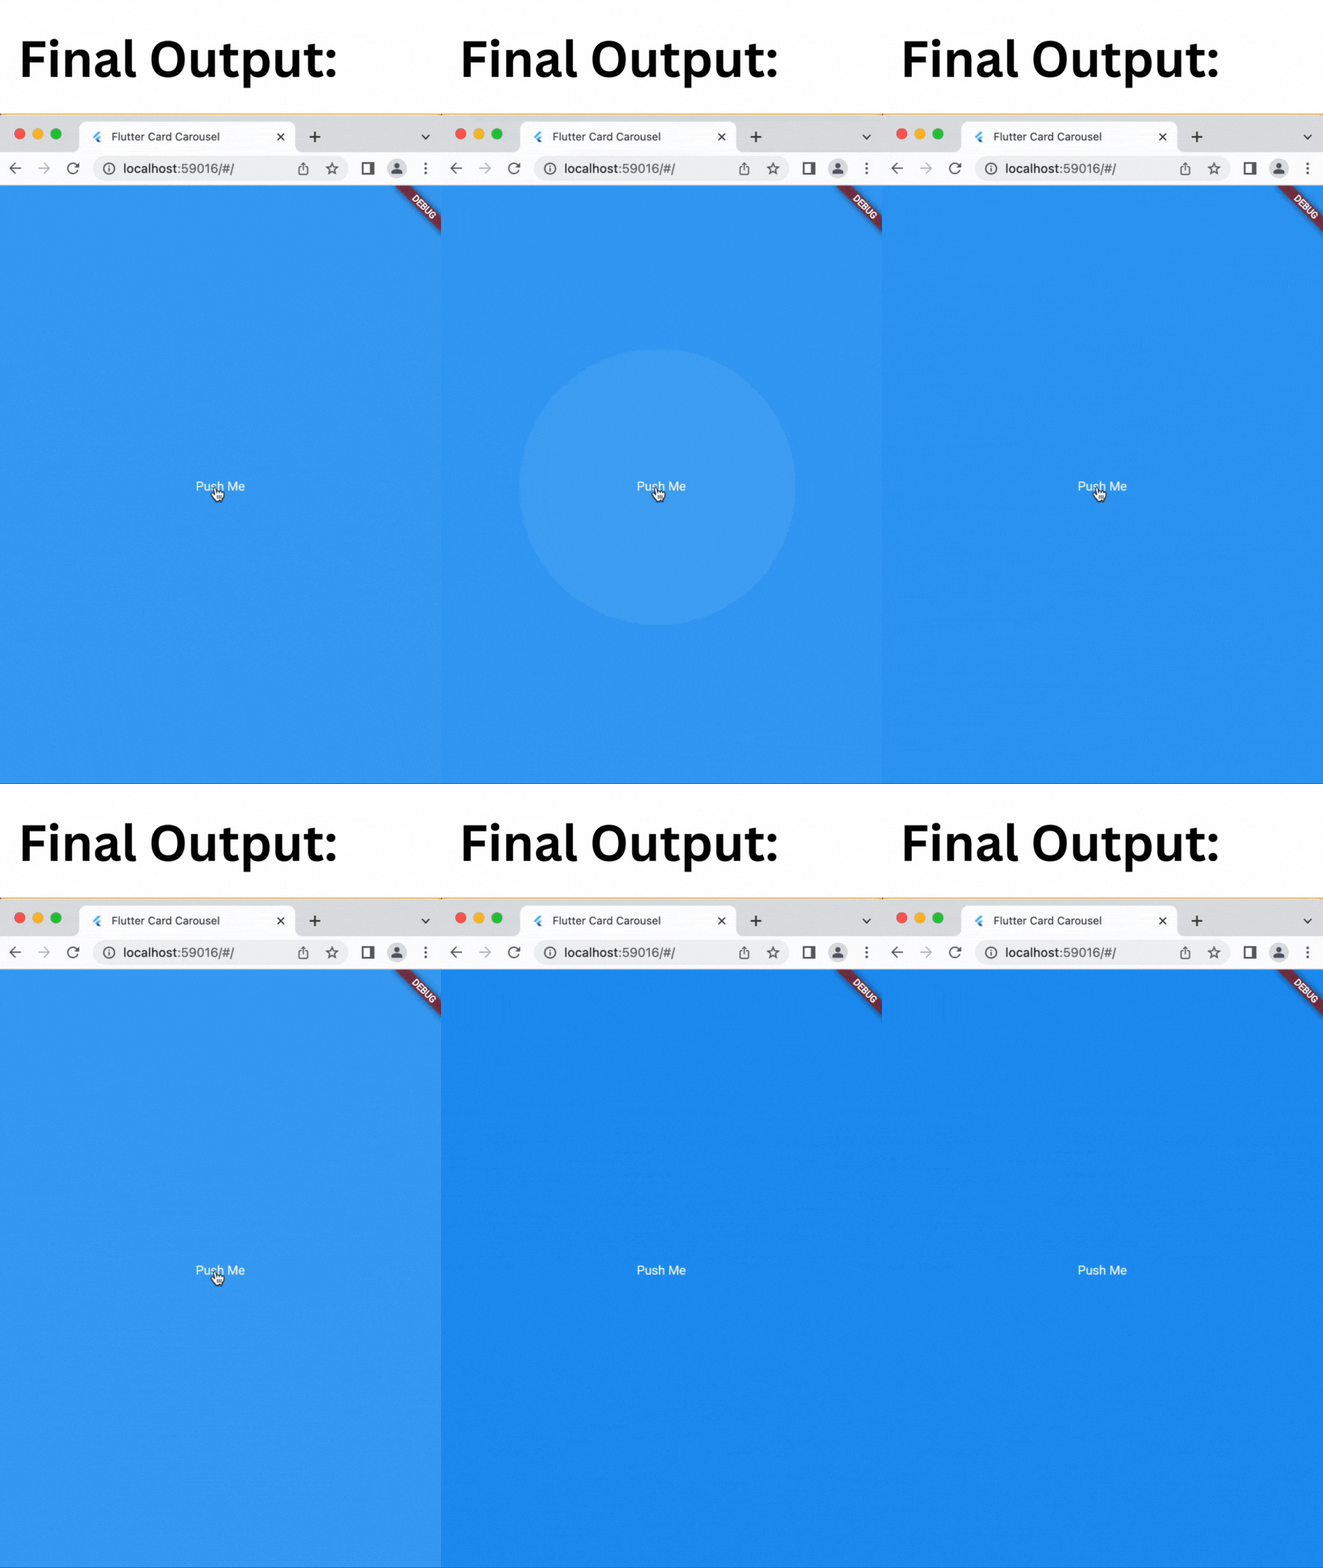
In the above code, we use the ElevatedButton widget to create a button with a raised appearance. The onPressed property is used to specify the function that will be called when the button is pressed. In this case, we have left it empty. The child property is used to specify the text that will be displayed on the button. In this case, the text is "Push Me".
Final Output:

How to change shape of elevated button flutter?
To change the shape of an ElevatedButton widget in Flutter, you can use the shape property to set the shape of the button. The shape property takes a ShapeBorder object which defines the shape of the button.
Here's an example of how you can use the shape property to change the shape of an ElevatedButton widget to a rounded rectangle:
ElevatedButton(
  onPressed: () {
    // action to perform when button is pressed
  },
  child: Text('Button'),
  style: ElevatedButton.styleFrom(
    shape: RoundedRectangleBorder(
      borderRadius: BorderRadius.circular(10.0),
    ),
  ),
),
In this example, the shape property of the ElevatedButton.styleFrom method is set to a RoundedRectangleBorder object with a BorderRadius of 10.0, which creates a rounded rectangle shape for the button. You can adjust the BorderRadius value to change the roundness of the corners of the button.
How to set size of elevated button flutter?
To set the size of an ElevatedButton widget in Flutter, you can use the ButtonStyle property fixedSize to specify a fixed size for the button.
Here's an example of how you can use the fixedSize property to set the size of an ElevatedButton widget:
ElevatedButton(
  onPressed: () {
    // action to perform when button is pressed
  },
  child: Text('Button'),
  style: ButtonStyle(
    fixedSize: MaterialStateProperty.all(Size(200, 50)),
  ),
),
In this example, the fixedSize property of the ButtonStyle is set to a MaterialStateProperty.all(Size(200, 50)), which sets the size of the button to 200 pixels wide and 50 pixels high. You can adjust the Size value to change the size of the button.
How to align floating action button flutter?
To align a floating action button in Flutter, you can use the floatingActionButton property of a Scaffold widget. You can set the floatingActionButton property to a FloatingActionButton widget, and then use the alignment property of the Scaffold widget to position the button.
Here's an example of how to align a floating action button to the bottom right corner of the screen:
Scaffold(
  appBar: AppBar(
    title: Text('My App'),
  ),
  body: Center(
    child: Text('Hello, World!'),
  ),
  floatingActionButton: FloatingActionButton(
    onPressed: () {},
    child: Icon(Icons.add),
  ),
  floatingActionButtonLocation: FloatingActionButtonLocation.endFloat,
)
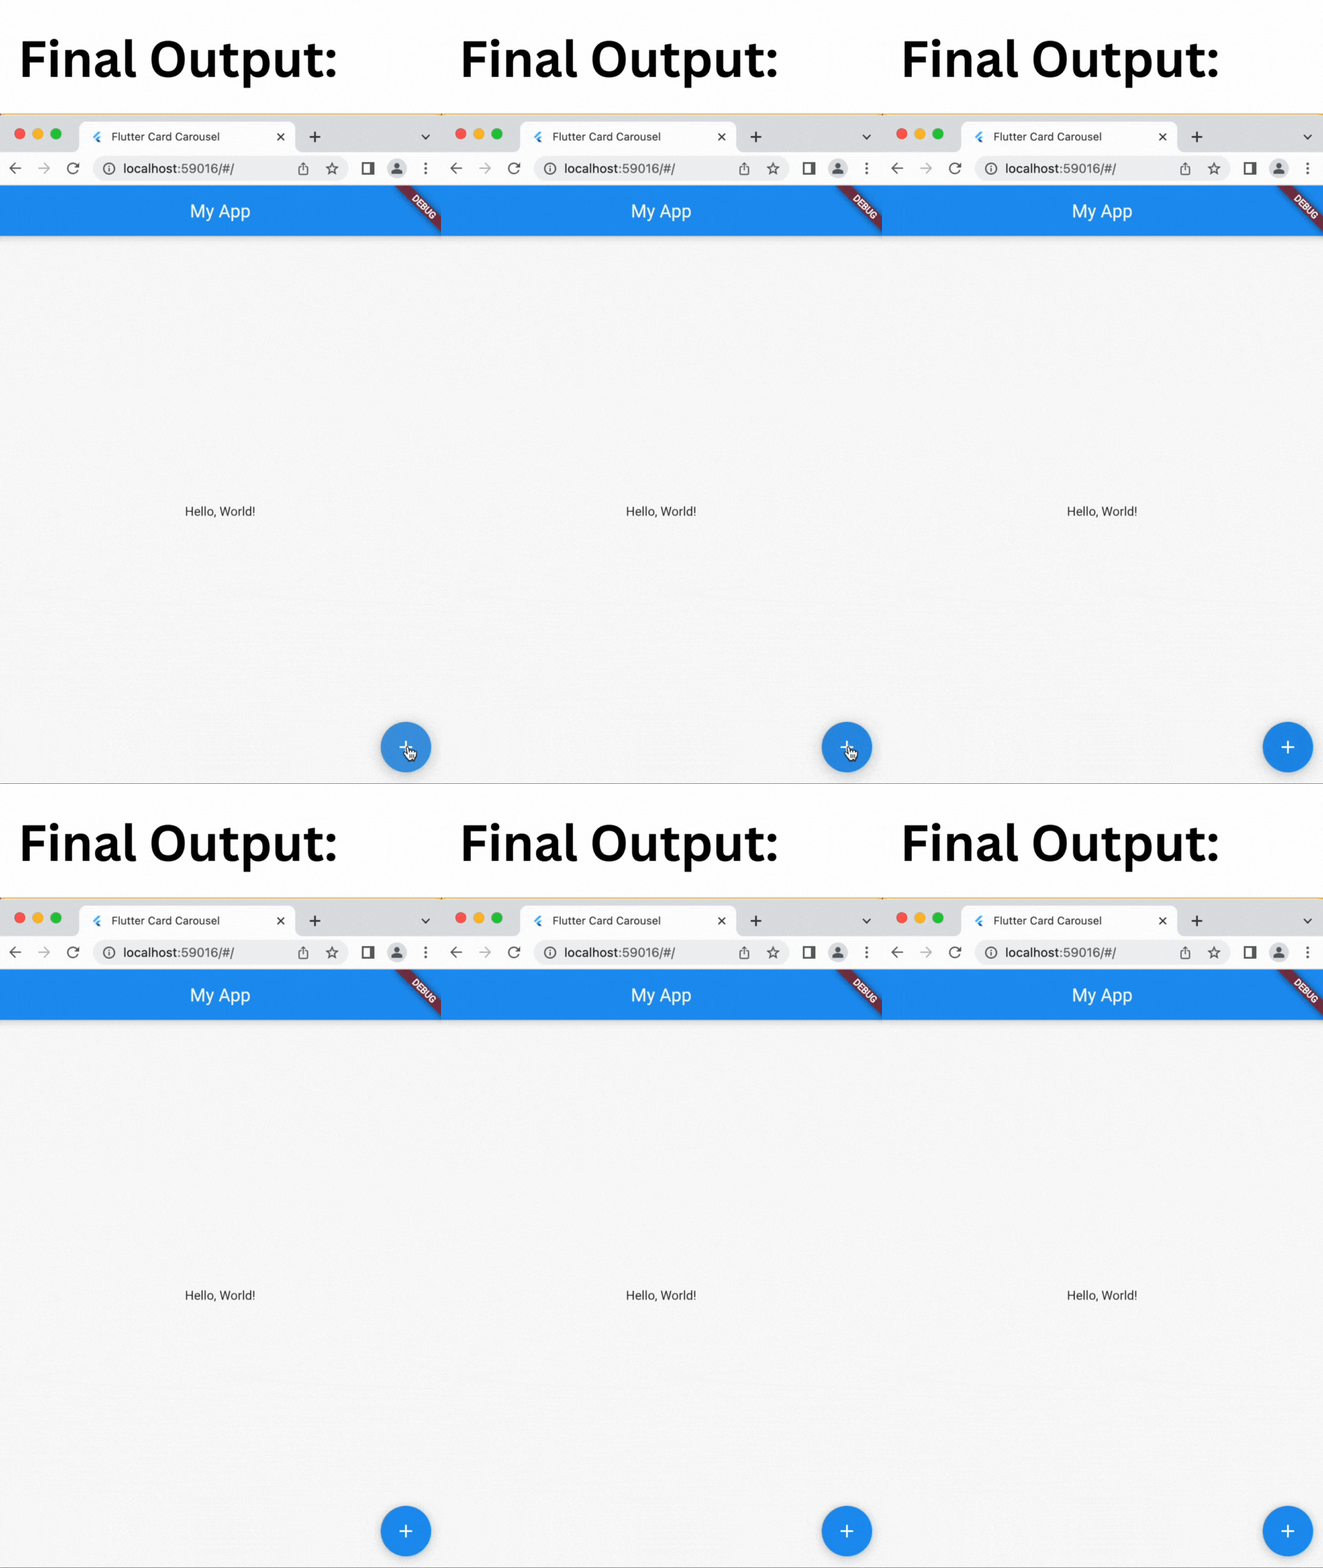
In this example, the floatingActionButton property is set to a FloatingActionButton widget with an onPressed function and an icon. The floatingActionButtonLocation property is set to FloatingActionButtonLocation.endFloat, which positions the button at the bottom right corner of the screen. You can also use other values for floatingActionButtonLocation to position the button in other locations.
Final Output:

Conclusion
Congratulations! You now know how to create a button in Flutter with code and examples. With these skills, you can create beautiful and functional buttons for your Flutter apps.
Frequently Asked Questions
How to set size of elevated button flutter?
To set the size of an ElevatedButton widget in Flutter, you can use the ButtonStyle property fixedSize to specify a fixed size for the button. Check out the code to set size of elevated button flutter in this tutorial mentioned above.
How to change shape of elevated button flutter?
To change the shape of an ElevatedButton widget in Flutter, you can use the shape property to set the shape of the button. The shape property takes a ShapeBorder object which defines the shape of the button. Check out the code to to change shape of elevated button flutter in this tutorial mentioned above.
How do I add a button to a column in flutter?
To add a button to a column in Flutter, you can create a Column widget and add a RaisedButton or TextButton widget as a child of the Column.
