How to pass multiple widgets as children in flutter using Column Widget ?
Article by: Manish Methani
Last Updated: October 1, 2021 at 10:04am IST

Introduction:
Flutter is a popular mobile application development framework that allows developers to build high-quality, cross-platform applications with ease. One of the essential features of Flutter is its ability to create layouts and designs using widgets. In this tutorial, we will learn how to pass multiple widgets as children in a Column Widget.
What is a Column Widget in Flutter?
A Column Widget is a layout widget that arranges its children vertically, one below the other. The Column Widget can contain any number of children widgets, and each child widget can have different sizes and properties. The Column Widget is a flexible layout that can adapt to the size of its parent widget.
Passing Multiple Widgets as Children in Column Widget:
To pass multiple widgets as children in a Column Widget, you need to add each widget as a separate child to the Column Widget. The Column Widget will then arrange the child widgets vertically, one below the other.
Example Code:
Let's look at an example of how to pass multiple widgets as children in a Column Widget in Flutter.
Column(
  children: [
    Text('Widget 1'),
    Text('Widget 2'),
    Text('Widget 3'),
  ],
),
In the above example, we have added three Text widgets as children to the Column Widget. The Column Widget will arrange these widgets vertically, one below the other.
Padding between Widgets:
To add padding between the widgets in a Column, you can use the SizedBox widget with a height property set to the desired value. For example:
Column(
  children: [
    Text('Widget 1'),
    SizedBox(height: 10),
    Text('Widget 2'),
    SizedBox(height: 10),
    Text('Widget 3'),
  ],
),
In the above example, we have added a SizedBox widget with a height of 10 pixels between each Text widget.
Different Widths for Widgets:
The Column Widget arranges its children vertically, but it does not restrict the width of each child widget. To have different widths for widgets in a Column, you can use the Expanded widget. The Expanded widget allows a child widget to take up all the available horizontal space in a Row or Column.
Column(
  children: [
    Expanded(
      child: Text('Widget 1'),
    ),
    Expanded(
      child: Text('Widget 2'),
    ),
    Expanded(
      child: Text('Widget 3'),
    ),
  ],
),
In the above example, we have wrapped each Text widget with the Expanded widget. This will make each Text widget take up equal amounts of horizontal space in the Column.
Sample App Code
import 'package:flutter/material.dart';

void main() {
  runApp(MyApp());
}

class MyApp extends StatelessWidget {
  @override
  Widget build(BuildContext context) {
    return MaterialApp(
      title: 'Column Widget Example',
      home: Scaffold(
        appBar: AppBar(
          title: Text('Column Widget Example'),
        ),
        body: Column(
          crossAxisAlignment: CrossAxisAlignment.start,
          children: [
            Text(
              'This is the first item',
              style: TextStyle(fontSize: 20),
            ),
            Text(
              'This is the second item',
              style: TextStyle(fontSize: 20),
            ),
            Text(
              'This is the third item',
              style: TextStyle(fontSize: 20),
            ),
          ],
        ),
      ),
    );
  }
}
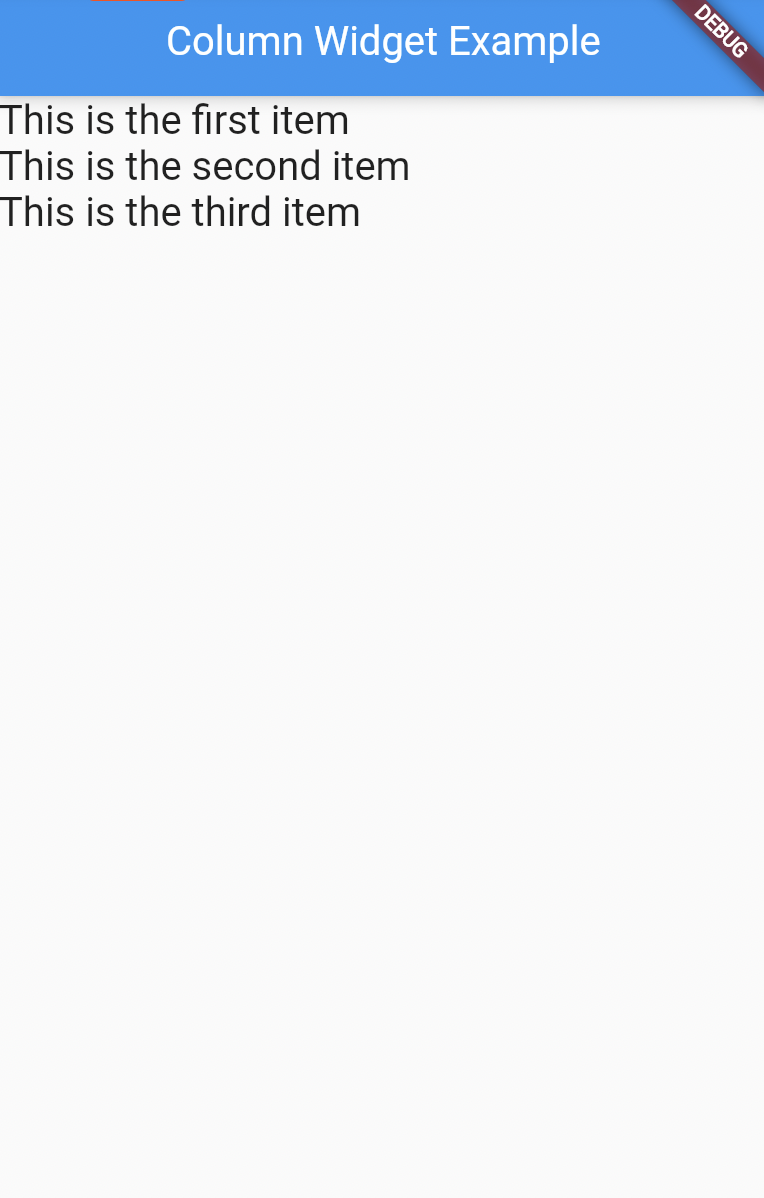
In this example, we import the material.dart library and define a MyApp class that extends StatelessWidget. In the build method, we create a MaterialApp widget with a title and a Scaffold widget as its home. Inside the Scaffold widget, we create a Column widget with crossAxisAlignment set to CrossAxisAlignment.start and three Text widgets as its children. The text of each Text widget is styled with a font size of 20.
When we run this code, we get an app with an app bar that says "Column Widget Example" and a body that contains three text items, each on a separate line and aligned to the left:
Output:

Conclusion:
In this tutorial, we learned how to pass multiple widgets as children in a Column Widget in Flutter. We also learned how to add padding between widgets and how to have different widths for widgets in a Column. The Column Widget is a flexible layout widget that can be used to create complex layouts in Flutter.
FAQs
What is a Column Widget in Flutter?
A Column Widget is a flexible layout widget that allows you to arrange other widgets in a vertical column.
Can we pass multiple widgets as children in Column Widget?
Yes, you can pass multiple widgets as children in a Column Widget by using the `children` property.
Q. How do I control the spacing between widgets in a Column widget?
A. You can control the spacing between widgets in a Column widget by using the mainAxisAlignment and crossAxisAlignment properties. The mainAxisAlignment property controls the vertical alignment of the widgets, while the crossAxisAlignment property controls the horizontal alignment. You can also use the mainAxisSize property to control the size of the Column widget.
Q. Can I wrap a Column widget in a SingleChildScrollView widget?
A. Yes, you can wrap a Column widget in a SingleChildScrollView widget to make the content scrollable. This is useful when the content is larger than the available screen space.
Q. How can I make a specific widget take up more space in a Column widget?
A. You can make a specific widget take up more space in a Column widget by using the Expanded widget. Simply wrap the widget you want to expand in an Expanded widget, and it will take up as much remaining space as possible.
Q. How can I add padding to a Column widget?
A. You can add padding to a Column widget by using the Padding widget. Simply wrap the Column widget in a Padding widget and set the desired padding value.
Q. How can I add a background color to a Column widget?
A. You can add a background color to a Column widget by using the Container widget. Wrap the Column widget in a Container widget and set the color property to the desired color.
