Learn NavigationStack in SwiftUI for iOS: Tutorial with Code and Example App
Article by: Manish Methani
Last Updated: September 17, 2021 at 10:04am IST
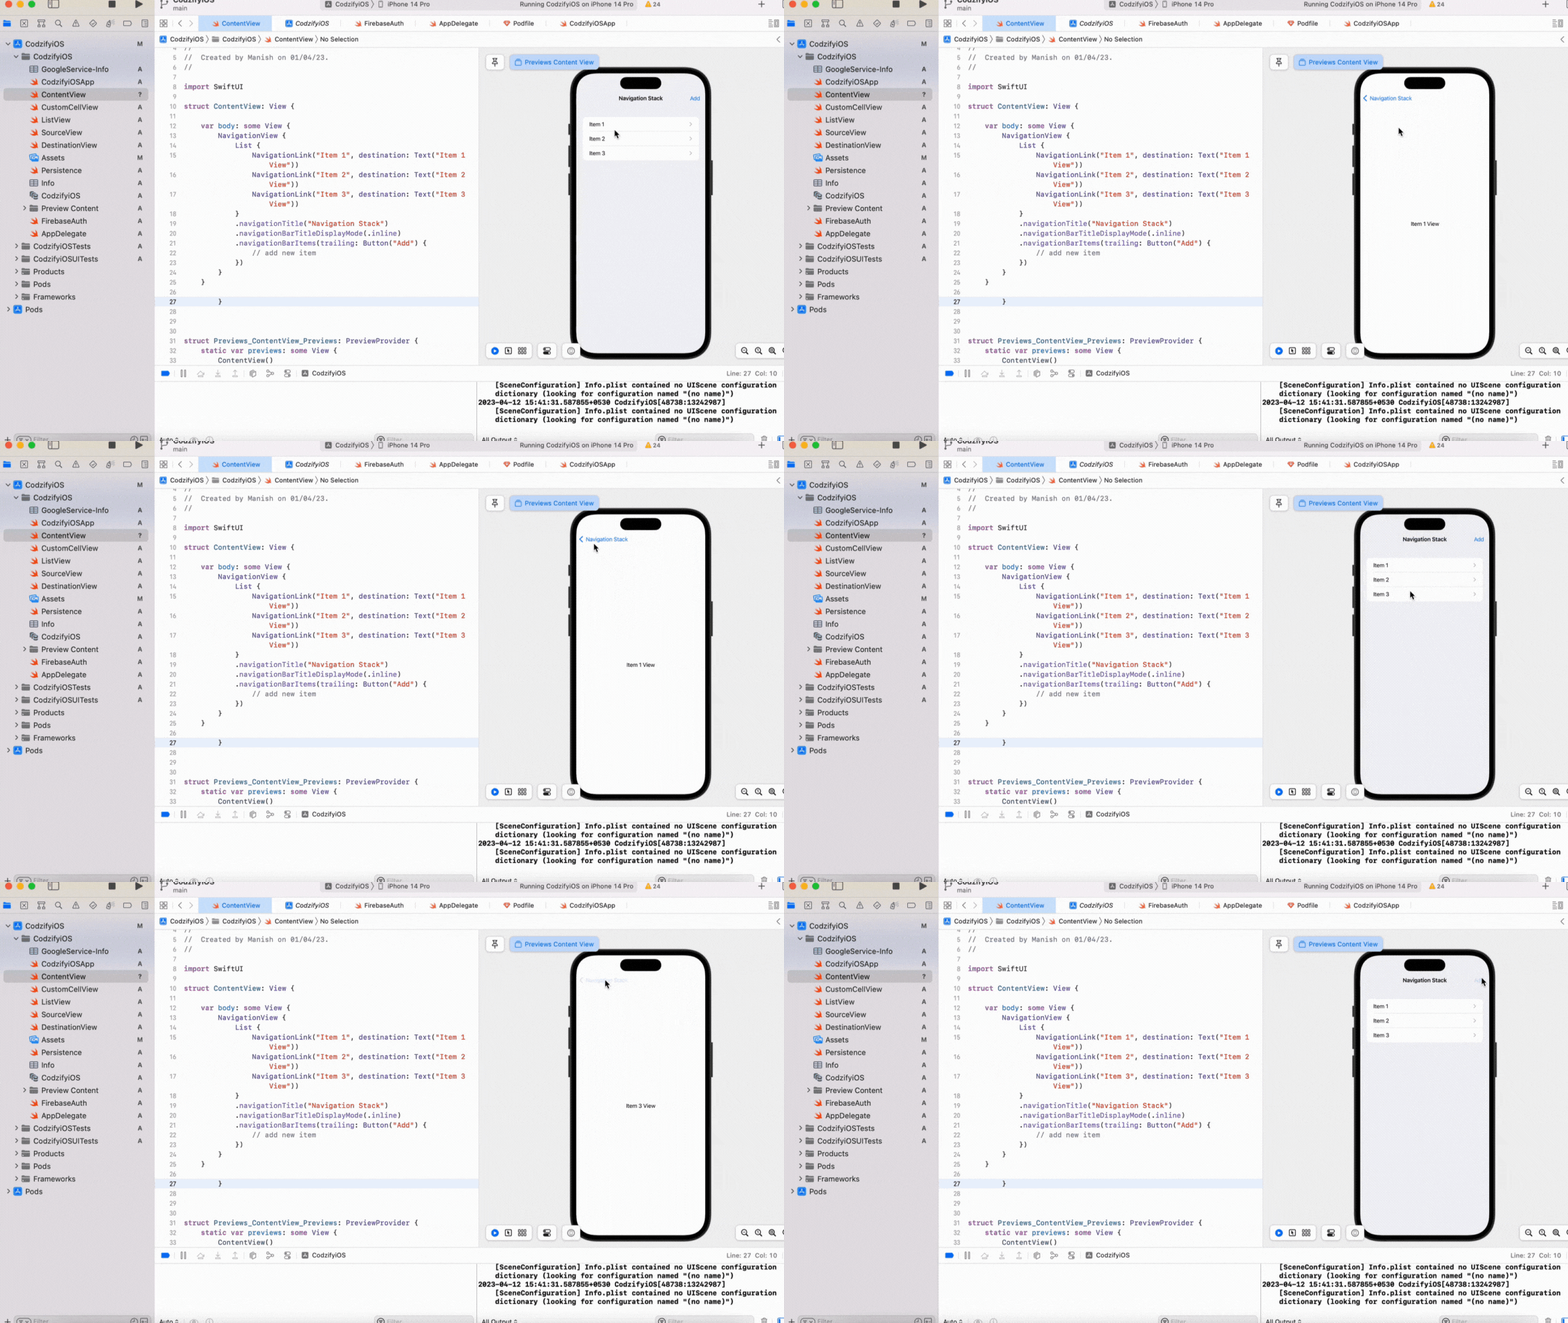
Final Output

Introduction
NavigationStack in SwiftUI is a powerful tool for creating navigation flows within your iOS app. It allows you to easily navigate between views, maintain a stack of views, and customize the appearance of your app's navigation bar. In this tutorial, we will explore how to use NavigationStack in SwiftUI, along with an example app.
Prerequisites
Before we begin, you should have the following:
- Xcode 12 or later installed on your Mac.
- Basic knowledge of SwiftUI.
Creating a new SwiftUI project
First, let's create a new SwiftUI project in Xcode:
- Open Xcode.
- Click on "Create a new Xcode project."
- Select "App" under the "iOS" tab and click "Next."
- Enter the details for your project and click "Next."
- Choose a location to save your project and click "Create."
Creating a NavigationStack
Now that we have our project set up, let's create a NavigationStack. A NavigationStack is a container that holds a stack of views and provides navigation between them. To create a NavigationStack in SwiftUI, follow these steps:
- Open ContentView.swift.
- Wrap the existing content in a NavigationStack, like so:
import SwiftUI

struct ContentView: View {
    var body: some View {
        NavigationView {
            // existing content
        }
    }
}
3. Inside the NavigationView, add a list of items that you want to navigate to:
import SwiftUI

struct ContentView: View {
    var body: some View {
        NavigationView {
            List {
                NavigationLink("Item 1", destination: Text("Item 1 View"))
                NavigationLink("Item 2", destination: Text("Item 2 View"))
                NavigationLink("Item 3", destination: Text("Item 3 View"))
            }
            .navigationTitle("Navigation Stack")
        }
    }
}
In this example, we've added three NavigationLinks to our list. When the user taps on an item, they will be taken to a new view with the corresponding Text.
Customizing the Navigation Bar
By default, SwiftUI provides a simple navigation bar with a title and a back button. However, you can customize the appearance of the navigation bar to fit your app's design. Here's an example of how to customize the navigation bar:
import SwiftUI

struct ContentView: View {
    var body: some View {
        NavigationView {
            List {
                NavigationLink("Item 1", destination: Text("Item 1 View"))
                NavigationLink("Item 2", destination: Text("Item 2 View"))
                NavigationLink("Item 3", destination: Text("Item 3 View"))
            }
            .navigationTitle("Navigation Stack")
            .navigationBarTitleDisplayMode(.inline)
            .navigationBarItems(trailing: Button("Add") {
                // add new item
            })
        }
    }
}
In this example, we've set the navigationTitle to "Navigation Stack", set the navigationBarTitleDisplayMode to .inline, and added a custom button to the navigation bar's trailing edge. You can customize the navigation bar further by using modifiers like .navigationBarColor, .navigationBarTitleColor, and more.
Final Output

Conclusion
In this tutorial, we've explored how to use NavigationStack in SwiftUI to create navigation flows within your iOS app. We've also seen how to customize the appearance of the navigation bar to fit your app's design. By using NavigationStack, you can create a seamless user experience that allows users to easily navigate through your app.
Frequently Asked Questions
Q: What is NavigationStack in SwiftUI?
A: NavigationStack is a container that holds a stack of views and provides navigation between them in SwiftUI.
Q: What do I need to follow this tutorial?
A: You need Xcode 12 or later installed on your Mac and basic knowledge of SwiftUI.
Q: How do I customize the appearance of the navigation bar?
A: You can customize the appearance of the navigation bar by using modifiers like .navigationBarColor, .navigationBarTitleColor, and more.
Q: Why is NavigationStack important for iOS app development?
A: NavigationStack is important for iOS app development as it allows you to create a seamless user experience that allows users to easily navigate through your app. It also provides a stack-based navigation system that is intuitive and familiar to iOS users.
