How do you style Flutter Widgets in 2023? - Codzify
Article by: Manish Methani
Last Updated: September 22, 2021 at 10:04am IST
Introduction
Flutter is a powerful and flexible mobile app development framework that allows developers to create beautiful, responsive, and performant apps for Android and iOS. One of the key features of Flutter is its ability to easily style and customize widgets to fit your app's design.
In this tutorial, we will cover some of the basics of styling widgets in Flutter. We will look at how to style text and fonts, work with colors, customize buttons, design containers, and create layouts.
Styling Text and Fonts
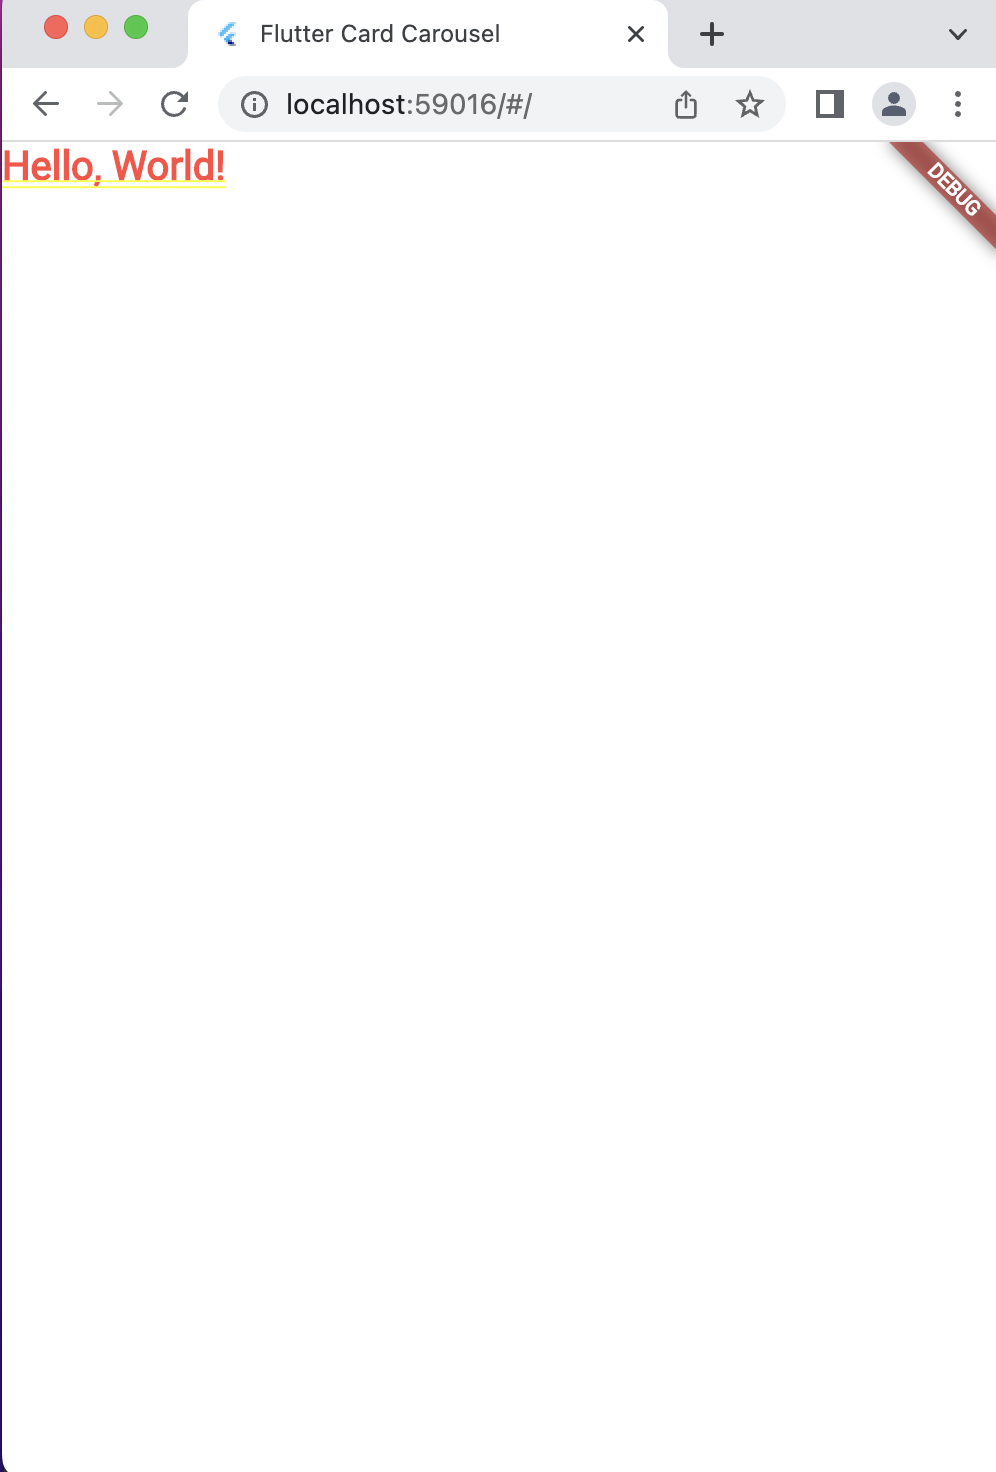
Flutter makes it easy to style text and fonts in your app. You can use the Text widget to display text and apply various styles to it. Here's an example of how to change the font size of a Text widget:
Text(
    'Hello, World!',
    style: TextStyle(fontSize: 20),
)
In the code above, we set the fontSize property of the TextStyle to 20 to change the font size of the text.
Output:
You can also change other properties of the TextStyle to apply different styles to the text, such as color, fontWeight, fontStyle, and fontFamily.
Here's an example of how to apply different styles to a Text widget:
Text(
    'Hello, World!',
    style: TextStyle(
        fontSize: 20,
        color: Colors.red,
        fontWeight: FontWeight.bold,
        fontStyle: FontStyle.italic,
        fontFamily: 'Roboto',
    ),
)
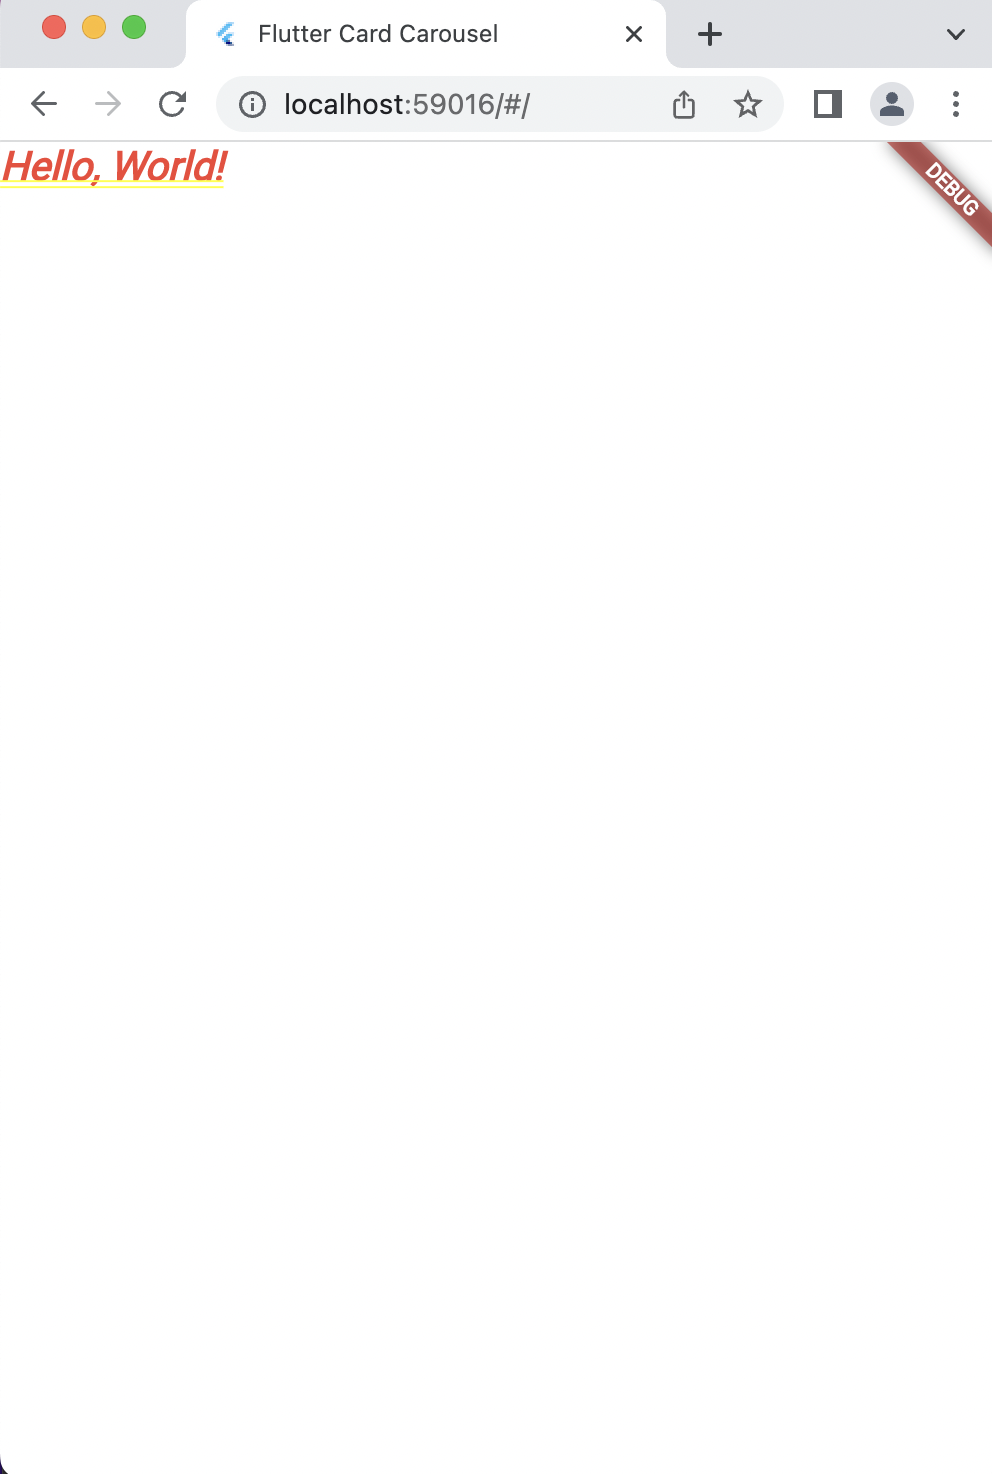
In the code above, we set the color property of the TextStyle to Colors.red to change the color of the text. We also set the fontWeight property to FontWeight.bold to make the text bold, and the fontStyle property to FontStyle.italic to make the text italic. Finally, we set the fontFamily property to 'Roboto' to use the Roboto font.
Output:
Working with Colors
Colors play a crucial role in designing beautiful apps. Flutter provides a wide range of colors that you can use in your app.
Here's an example of how to use the Colors class to set the background color of a Container widget:
Container(
    color: Colors.blue,
)
In the code above, we set the color property of the Container to Colors.blue to set the background color to blue.
Output:

You can also use other properties of the Colors class to set the color of text, buttons, and other widgets.
Designing Containers
Containers are used to group and layout other widgets. Flutter provides several properties that you can use to customize the appearance of a Container widget, such as padding, margin, and decoration.
Here's an example of how to use the decoration property to add a border to a Container:
Container(
    decoration: BoxDecoration(
        border: Border.all(
            color: Colors.black,
            width: 2,
        ),
    ),
    child: Text('Hello, World!'),
)
In the code above, we set the decoration property of the Container to a BoxDecoration with a Border property to add a black border around the container. We also set the width property of the Border to 2 to make the border thicker.
You can also use the padding and margin properties to add spacing around the container and its child widgets.
Here's an example of how to use the padding property to add padding around a Container:
Container(
    padding: EdgeInsets.all(10),
    child: Text('Hello, World!'),
)
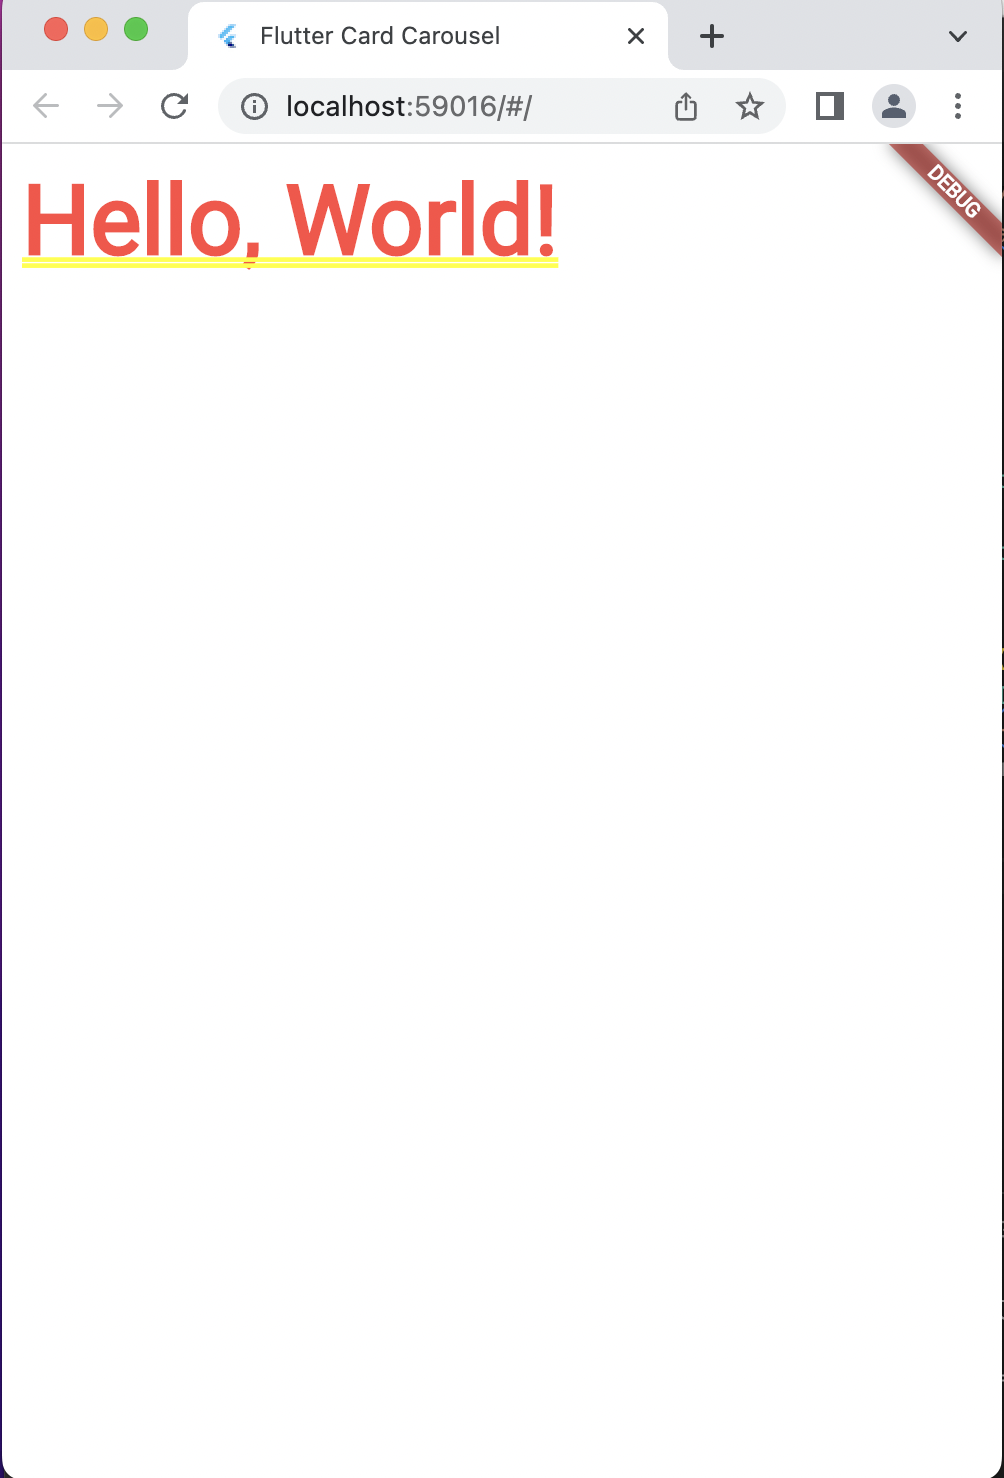
In the code above, we set the padding property of the Container to EdgeInsets.all(10) to add 10 pixels of padding around the container.
Output:
Layouts
Layouts are used to position widgets on the screen. Flutter provides several built-in layouts that you can use in your app, such as Column, Row, and Stack.
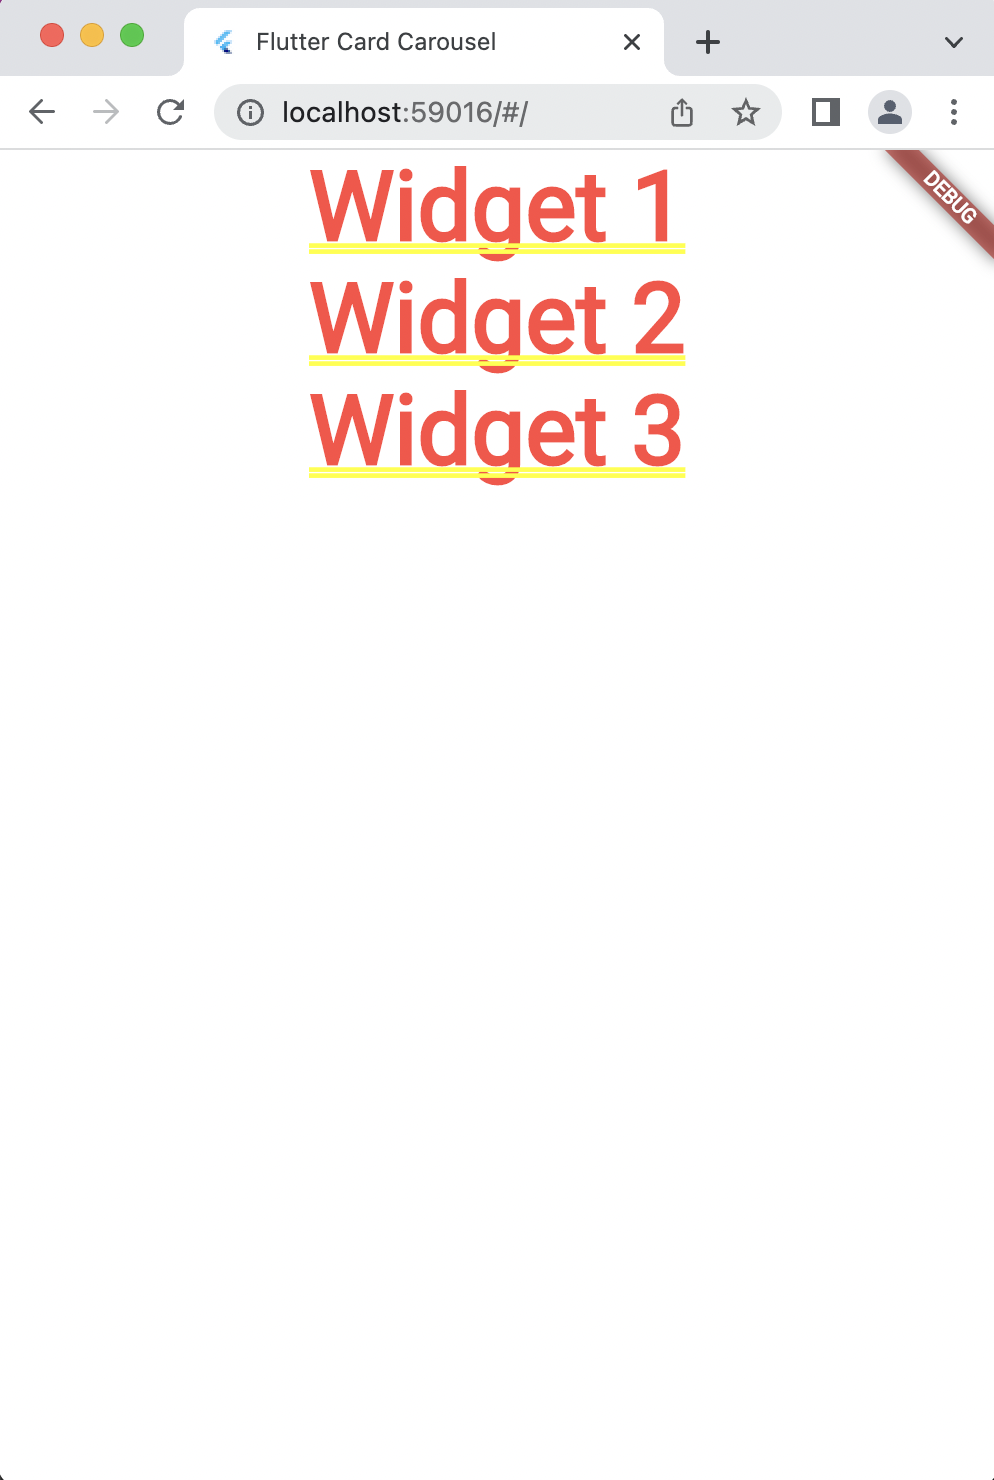
Here's an example of how to use a Column layout to stack multiple widgets vertically:
Column(
    children: [
        Text('Widget 1'),
        Text('Widget 2'),
        Text('Widget 3'),
    ],
)
In the code above, we create a Column widget with three Text widgets as its children. The Column layout stacks the Text widgets vertically.
Output:
You can also use the Row layout to position widgets horizontally.
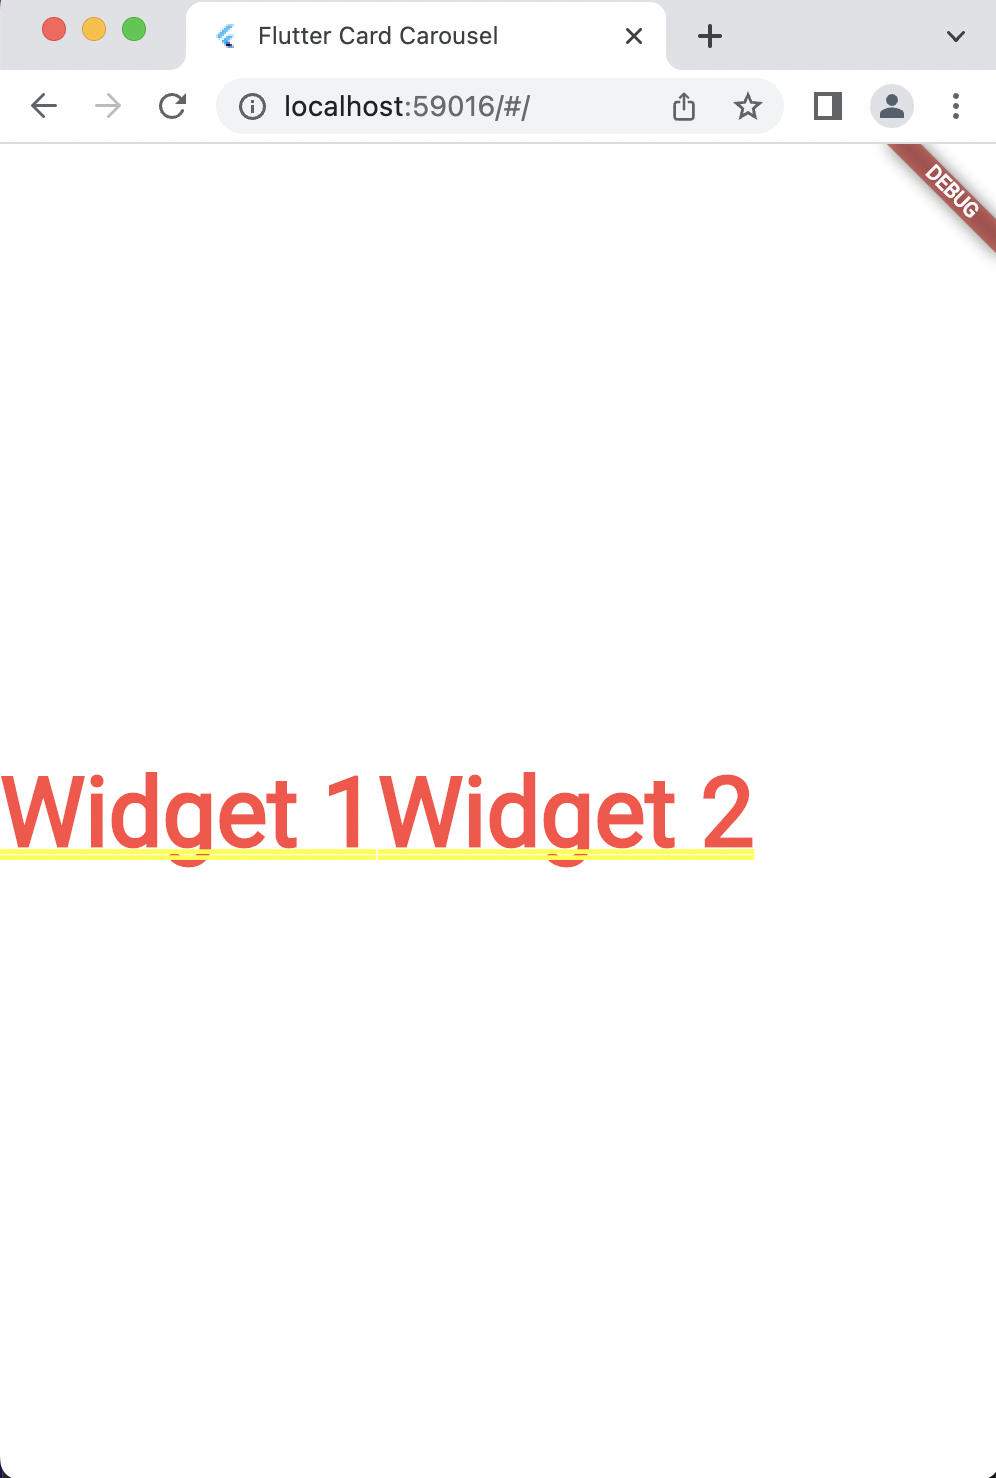
Here's an example of how to use a Row layout to position two widgets side-by-side:
 Row(
    children: [
        Text('Widget 1'),
        Text('Widget 2'),
    ],
)
In the code above, we create a Row widget with two Text widgets as its children. The Row layout positions the Text widgets side-by-side.
Output:
Frequently Asked Questions
How do I change the font size of text in Flutter?
Use the style property of a Textwidget and set the fontSize property to the desired value.
How do you add borders and spacing to widgets in Flutter?
For borders, you can use the `decoration` property of the `Container` widget or the `shape` property of the `Card` widget and For spacing, you can use the `Padding`, `SizedBox`, and `Spacer` widgets.
How do I change the color of a button in Flutter?
Use the color property of a RaisedButton widget and set it to the desired color.
What layouts are available in Flutter?
Flutter provides several built-in layouts such as Column, Row, and Stack. Column and Row layouts are used to stack widgets vertically and horizontally, respectively. Stack layout is used to position widgets on top of each other.
