How to position widegts in stack flutter ? - Complete Guide 2023 | Codzify
Article by: Manish Methani
Last Updated: September 22, 2021 at 8:04am IST
Table of Contents
Introduction
In Flutter, you can use a Stack widget to position widgets on top of each other. The Stack widget is very flexible and allows you to position widgets using absolute coordinates, relative coordinates, and fractions of the available space.
Creating a Stack Widget
To create a Stack widget, you simply need to wrap your widgets in a Stack widget. For example, the following code creates a Stack widget with two Container widgets:
Stack(
  children: [
    Container(
      width: 100,
      height: 100,
      color: Colors.red,
    ),
    Container(
      width: 50,
      height: 50,
      color: Colors.blue,
    ),
  ],
);
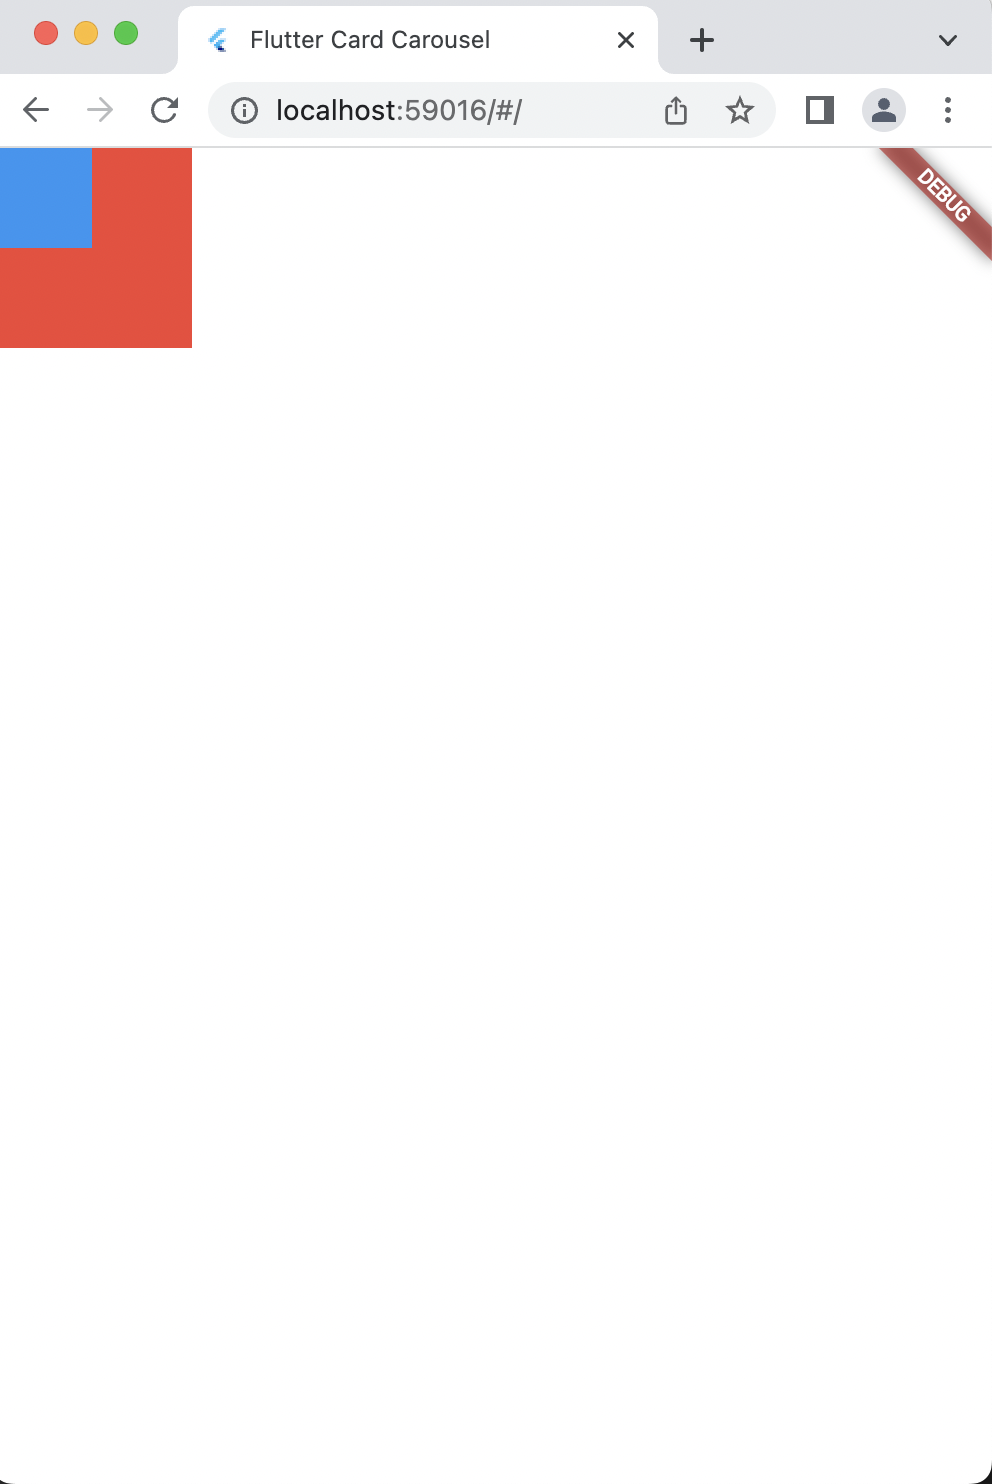
This code creates a Stack widget with a red Container that is 100x100 pixels and a blue Container that is 50x50 pixels. By default, the blue Container will be positioned at the top left corner of the red Container, but we can change this using the Positioned widget.
Final Output:
Adding Positioned Widgets
To position widgets in a Stack, you can use the Positioned widget. The Positioned widget allows you to position a widget relative to the edges of the parent Stack.
Stack(
  children: [
    Container(
      width: 100,
      height: 100,
      color: Colors.red,
    ),
    Positioned(
      left: 10,
      top: 10,
      child: Container(
        width: 50,
        height: 50,
        color: Colors.blue,
      ),
    ),
  ],
);
In this code, we've added a Positioned widget to the blue Container. The left and top properties of the Positioned widget specify the distance of the blue Container from the left and top edges of the parent Stack.
Final Output:

Positioning Widgets with Fractional Offsets
You can also use fractional offsets to position widgets in a Stack. Fractional offsets allow you to position a widget relative to the available space in the parent Stack.
Stack(
  children: [
    Container(
      width: 100,
      height: 100,
      color: Colors.red,
    ),
    Positioned(
      left: 0.25,
      top: 0.25,
      right: 0.25,
      bottom: 0.25,
      child: Container(
        color: Colors.blue,
      ),
    ),
  ],
);
;
In this code, we've used the left, top, right, and bottom properties of the Positioned widget to position the blue Container in the center of the red Container using fractional offsets.
Final Output:

Using the Positioned.fill Widget
Finally, you can use the Positioned.fill widget to position a widget to fill the available space in the parent Stack.
Stack(
  children: [
    Container(
      width: 100,
      height: 100,
      color: Colors.red,
    ),
    Positioned.fill(
      child: Container(
        color: Colors.blue,
      ),
    ),
  ],
);
In this code, we've used the Positioned.fill widget to position the blue Container to fill the entire red Container.
Properties of Stack Widget
Now, we'll explore the properties of Stack Widgets and how to use them effectively in your app.
First, we'll cover the alignment property, which lets you position widgets relative to the edges or center of the Stack Widget. We'll provide examples of how to use alignment to create visually appealing designs.
Next, we'll explore the fit property, which determines how a child widget should fit within the Stack Widget. We'll demonstrate how to use fit to create responsive designs that adapt to different screen sizes and orientations.
We'll also cover the overflow property, which determines how to handle child widgets that exceed the boundaries of the Stack Widget. We'll show you how to use overflow to create dynamic and flexible layouts.
Finally, we'll discuss the textDirection property, which sets the directionality of the text within child widgets. We'll provide examples of how to use textDirection to create multilingual apps that support different writing systems.
Alignment:
The alignment property of Stack Widgets allows developers to position child widgets relative to the edges or center of the Stack Widget. You can use values like topLeft, center, and bottomRight to position widgets in specific locations.
Example code:
Stack(
  alignment: Alignment.center,
  children: [
    Container(
      width: 200,
      height: 200,
      color: Colors.red,
    ),
    Container(
      width: 100,
      height: 100,
      color: Colors.blue,
    ),
  ],
)
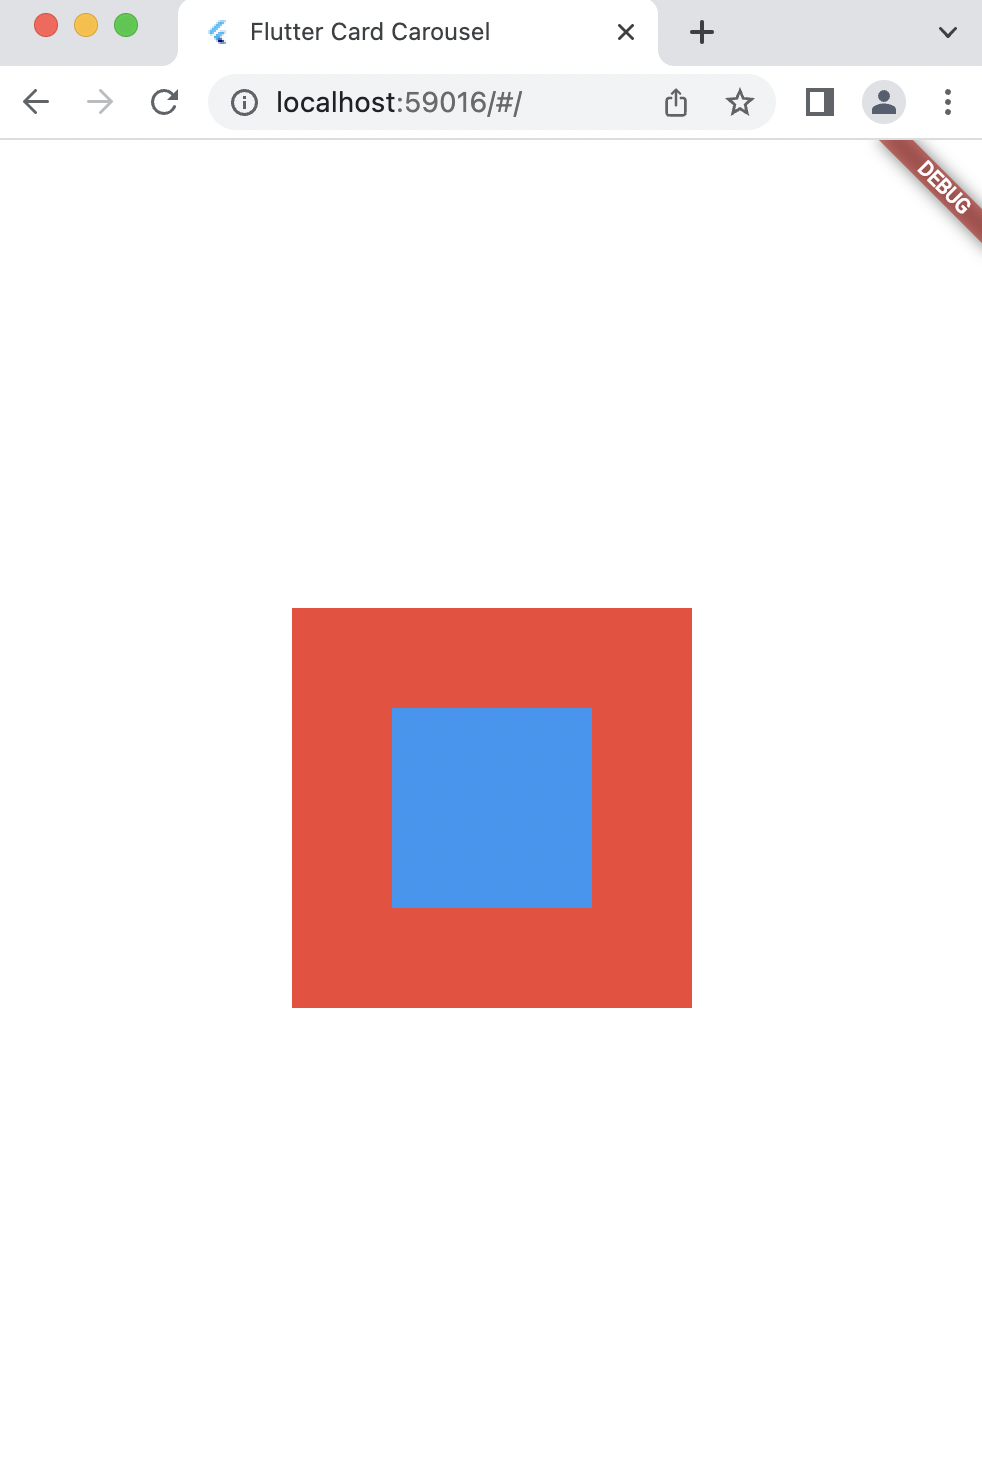
In this example, we've used the Alignment.center property to center the child widgets within the Stack Widget.
Fit:
The fit property of Stack Widgets determines how a child widget should fit within the Stack Widget. You can use values like BoxFit.cover and BoxFit.contain to create responsive designs that adapt to different screen sizes and orientations.
Example code:
Stack(
  fit: StackFit.expand,
  children: [
    Image.network(
      'https://via.placeholder.com/500x300',
      fit: BoxFit.cover,
    ),
    Container(
      width: 200,
      height: 200,
      color: Colors.black.withOpacity(0.5),
      child: Center(
        child: Text(
          'Welcome to my app',
          style: TextStyle(
            color: Colors.white,
            fontSize: 24,
          ),
        ),
      ),
    ),
  ],
)
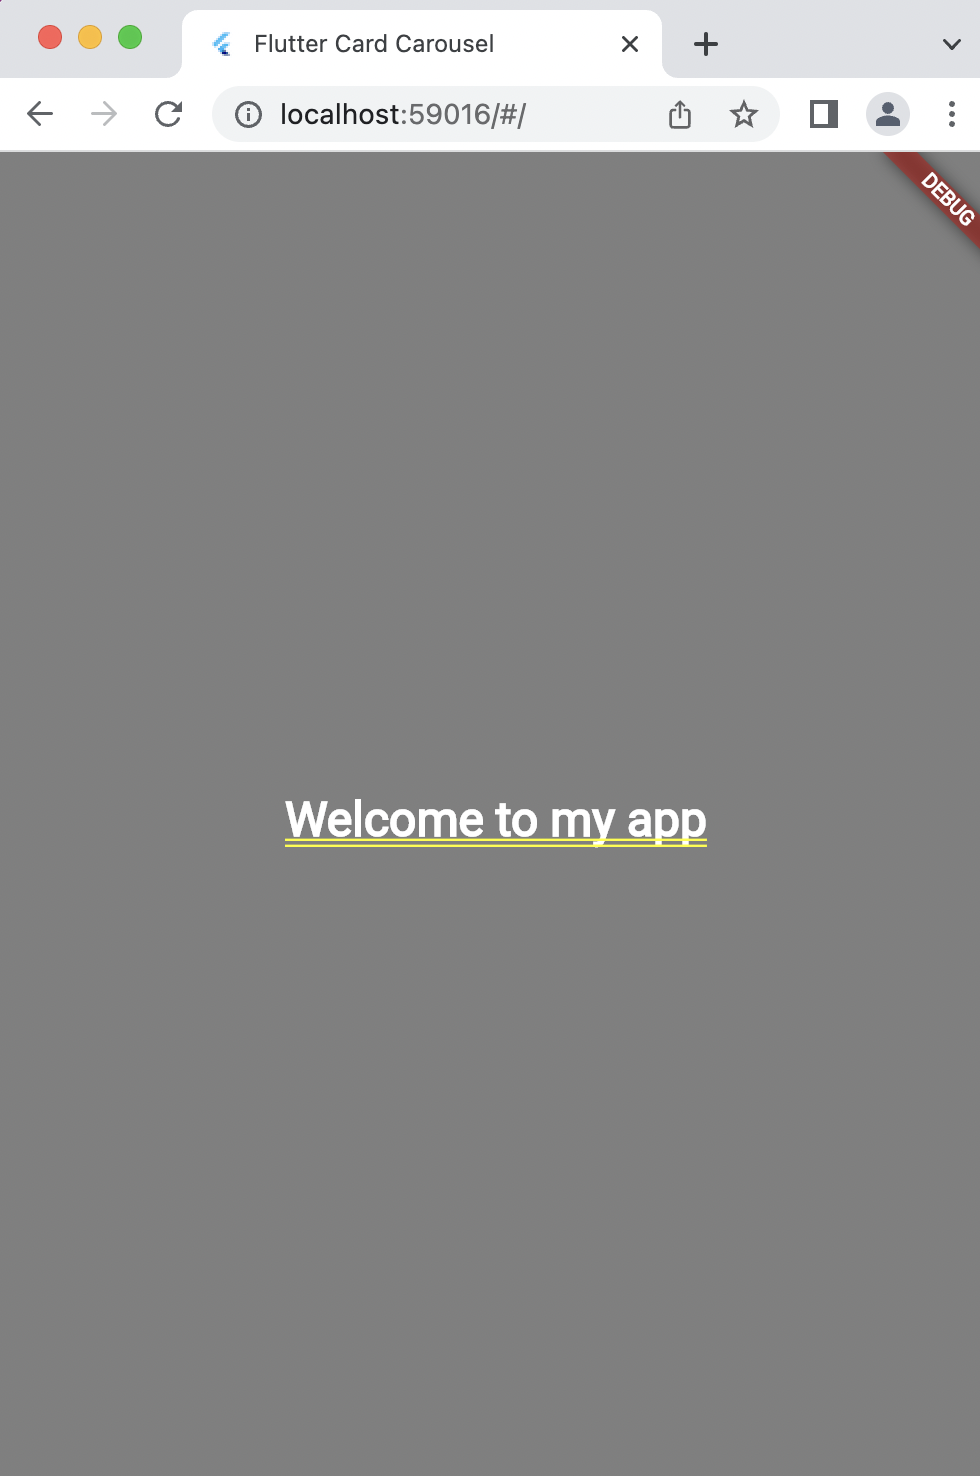
In this example, we've used the StackFit.expand property to expand the Stack Widget to fill the available space. We've also used the BoxFit.cover property to ensure that the image child widget covers the entire Stack Widget, regardless of its size or orientation.
Final Output:
Clip Behavior
In Flutter, the Stack widget is used to place multiple widgets on top of each other. When the size of the widgets inside the Stack exceeds the available space, it may cause overflow issues. To handle this, the clipBehavior property of the Stack widget can be used.
The clipBehavior property controls how the Stack widget clips its children when they exceed the bounds of the Stack. It accepts an instance of the Clip class, which has several possible values:
-
Clip.none: This is the default value, and it means that the children of theStackwill not be clipped even if they exceed the bounds of theStack. -
Clip.hardEdge: This value clips the children of theStackto the exact bounds of theStack. Any part of the children that falls outside the bounds of theStackwill not be visible. -
Clip.antiAlias: This value clips the children of theStackto the exact bounds of theStackand applies anti-aliasing to the edges to make them smoother. -
Clip.antiAliasWithSaveLayer: This value clips the children of theStackto the exact bounds of theStack, applies anti-aliasing, and creates a new layer to draw the clipped children on. This can be slower than the other values, but it provides the best anti-aliasing quality.
Here is an example of how to use the Stack widget and its clipBehavior property:
  Stack(
    clipBehavior: Clip.none,
    children: [
      Positioned(
        top: 0,
        left: 0,
        child: Container(
          width: 200,
          height: 200,
          color: Colors.blue,
        ),
      ),
      Positioned(
        top: 50,
        left: 50,
        child: Container(
          width: 200,
          height: 200,
          color: Colors.green,
        ),
      ),
      Positioned(
        top: 100,
        left: 100,
        child: Container(
          width: 200,
          height: 200,
          color: Colors.red,
        ),
      ),
    ],
  )
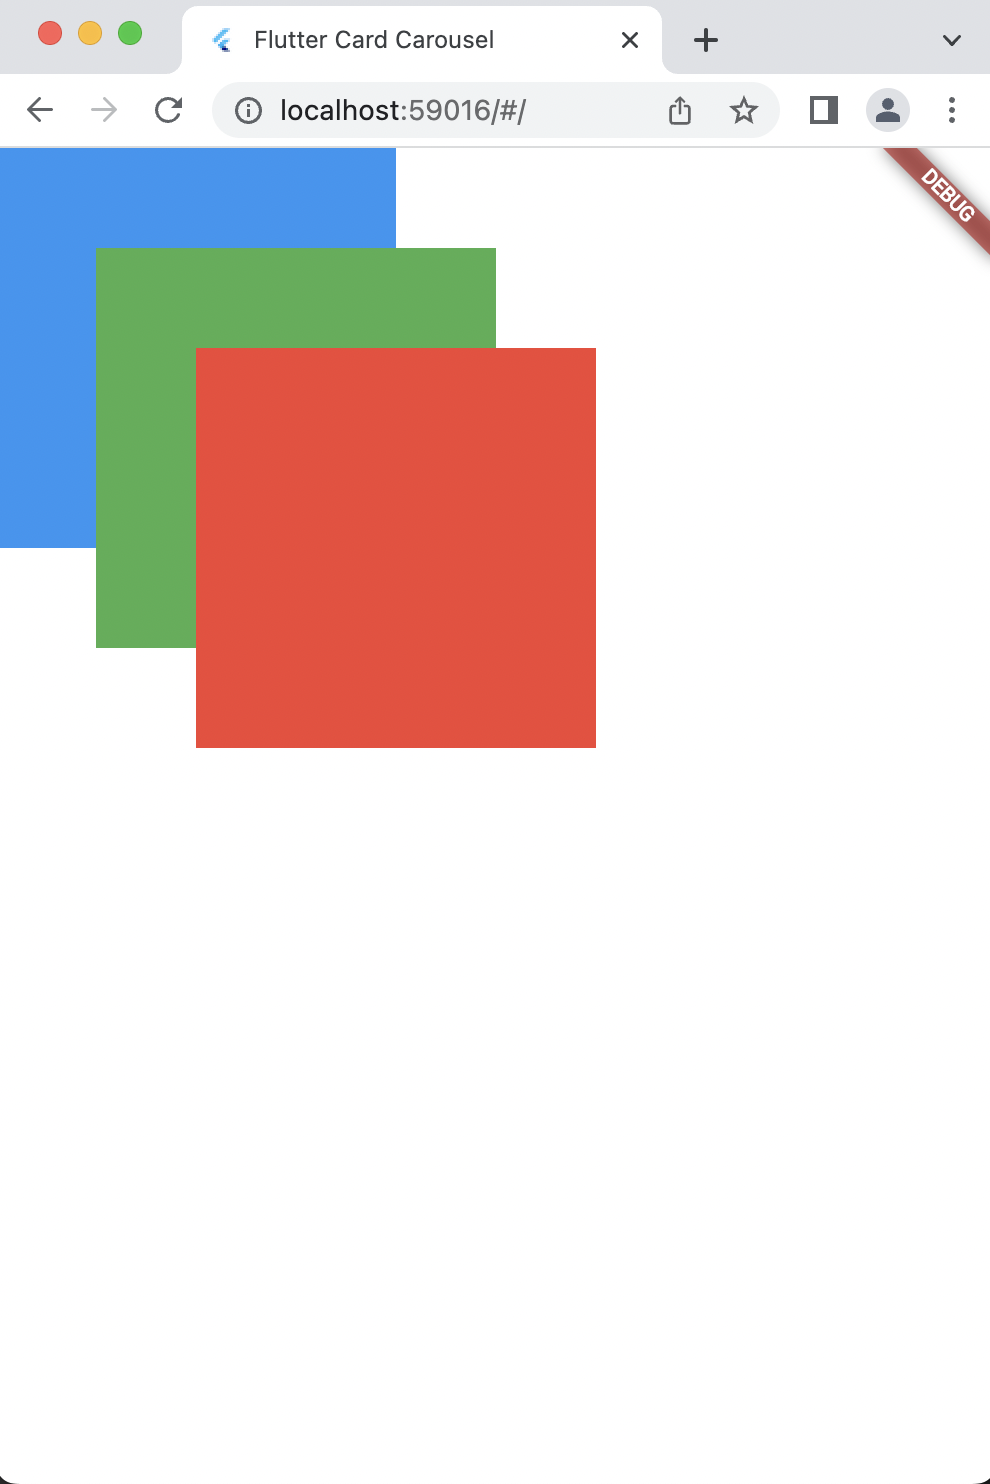
In this example, we've used the Overflow.visible property to allow the child widget to overflow the boundaries of the Stack Widget. We've also used the Positioned widget to position the child widget outside the bounds of the Stack Widget.
Final Output:
TextDirection:
The textDirection property of Stack Widgets sets the directionality of the text within child widgets. You can use values like TextDirection.ltr and TextDirection.rtl to support different writing systems and languages.
Example code:
Stack(
  textDirection: TextDirection.rtl,
  children: [
    Container(
      width: 200,
      height: 200,
      color: Colors.red,
      child: Center(
        child: Text(
          'Text direction right to left',
          style: TextStyle(
            fontSize: 24,
            color: Colors.white,
          ),
        ),
      ),
    ),
  ],
)
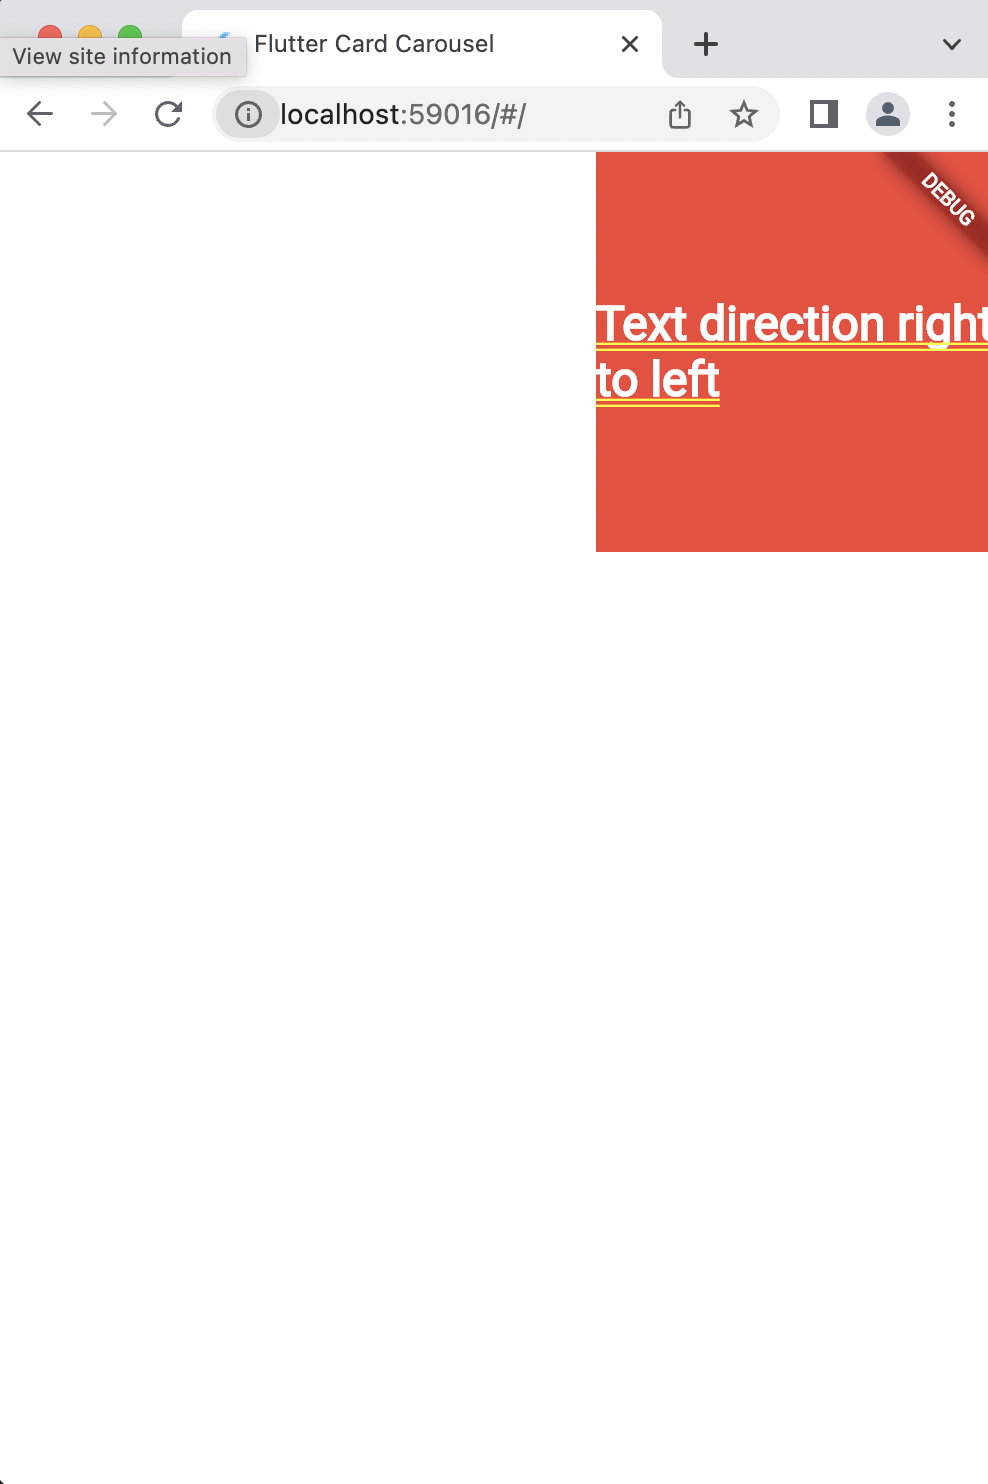
In this example, we've used the TextDirection.rtl property to set the directionality of the text within the child widget to right-to-left. This is important for supporting languages like Arabic and Hebrew.
Final Output:
Conclusion
Stack Widgets are an essential component of Flutter UI design, allowing developers to layer and position widgets in unique and creative ways. By understanding the properties of Stack Widgets, you can create dynamic and engaging UI designs that adapt to different screen sizes, orientations, and languages. In this tutorial, we've covered how to position widgets in stack flutter and the properties of Stack Widgets, including alignment, fit, overflow, and textDirection, and provided code examples to demonstrate how to use each property effectively.
Frequently Asked Questions
Q: What is a Stack Widget in Flutter?
A: A Stack Widget is a widget in Flutter that allows developers to position child widgets on top of each other. This can be useful for creating layered UI designs, such as overlapping text and images.
Q: How can I position a widget in a Stack Widget?
A: You can position a widget in a Stack Widget using the alignment property. The alignment property allows you to position a child widget relative to the edges or center of the Stack Widget.
Q: What values can I use for the alignment property in a Stack Widget?
A: You can use any value from the Alignment class, such as Alignment.topLeft, Alignment.centerRight, or Alignment.bottomCenter. You can also create custom Alignment values by providing x and y coordinates between -1.0 and 1.0.
Q: How can I adjust the size of a widget in a Stack Widget?
A: You can adjust the size of a widget in a Stack Widget using the fit property. The fit property determines how a child widget should fit within the Stack Widget, including whether to stretch or maintain its original aspect ratio.
Q: What values can I use for the fit property in a Stack Widget?
A: You can use any value from the StackFit enum, such as StackFit.loose or StackFit.expand. StackFit.loose will allow the child widget to maintain its original size, while StackFit.expand will cause the child widget to fill the entire available space within the Stack Widget.
Q: What if my child widget is too large for the Stack Widget?
A: If a child widget is too large for the Stack Widget, you can use the overflow property to determine how to handle the overflow. The overflow property can be set to values such as Overflow.visible or Overflow.clip, which will either allow the child widget to extend beyond the Stack Widget boundaries or clip it to fit within the boundaries.
Q: How can I support different writing systems and languages in a Stack Widget?
A: You can support different writing systems and languages in a Stack Widget using the textDirection property. The textDirection property sets the directionality of the text within child widgets, such as whether it should be left-to-right or right-to-left, based on the language being used.
Q: Can I animate the position of a widget in a Stack Widget?
A: Yes, you can animate the position of a widget in a Stack Widget using the AnimatedPositioned widget. The AnimatedPositioned widget is a version of the Positioned widget that can be animated using the AnimationController class.
Q: How can I create a responsive design using Stack Widgets?
A: You can create a responsive design using Stack Widgets by adjusting the alignment, fit, and overflow properties based on the screen size and orientation. You can also use MediaQuery to retrieve information about the device screen size and adapt your UI accordingly.
